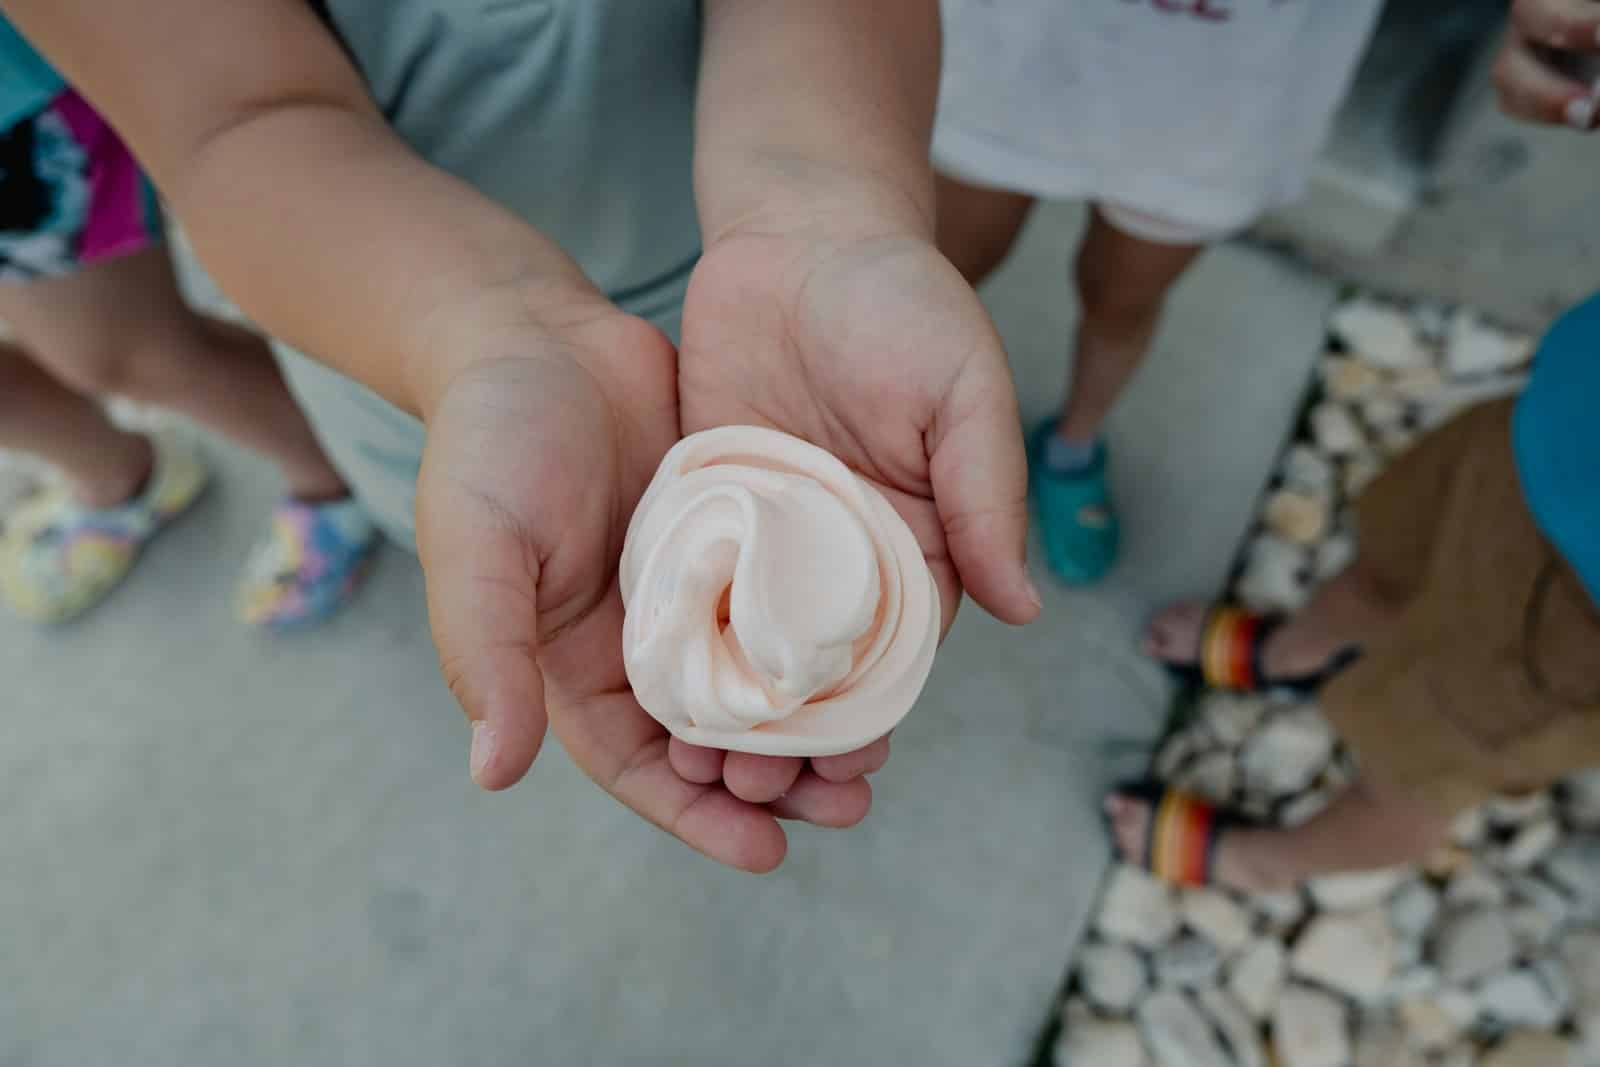
I’ll admit it: I love experimenting with DIY crafts, especially when they involve materials that are squishy and fun to play with. One of my latest obsessions? Kinetic foam! It’s just like kinetic sand but even more fun because of its lightweight, moldable texture. If you’re curious about how to make kinetic foam, you’re in the right place. Whether you’re looking for a cool activity for kids or simply want to play around with something stress-relieving, making kinetic foam at home is easier than you think.
In this post, I’ll guide you through the process of how to make kinetic foam, using easy-to-find materials. It’s a great craft project that can be enjoyed by both children and adults, and the best part is that you can customize it with colors and textures to make it truly your own.

Photo by Nellie Adamyan on Unsplash
What is Kinetic Foam?
Kinetic foam is a lightweight, squishy material that holds its shape when molded, making it perfect for creative play. Think of it as a mix between slime, Play-Doh, and kinetic sand. It feels soft and airy in your hands, but it’s also firm enough to create shapes and figures that hold up until you squish them again.
I love kinetic foam because it’s less messy than other crafting materials, and it’s reusable. Kids can spend hours building, molding, and squishing, all while improving their fine motor skills and creativity. And let’s be real—playing with kinetic foam is just as fun for adults who need a little stress relief!
Materials You’ll Need to Make Kinetic Foam
Before we dive into the step-by-step instructions, let’s gather our materials. Fortunately, most of these are common household items or can be easily found at your local craft store or supermarket.
Here’s what you’ll need:
- Shaving cream: This gives the foam its light, airy texture.
- White school glue: This will help bind everything together.
- Liquid starch: The magic ingredient that transforms the mixture into foam. You can find liquid starch in the laundry aisle of most grocery stores.
- Food coloring (optional): For adding fun colors to your foam.
- A mixing bowl: To combine everything together.
- A spoon or spatula: For mixing.
That’s it! The ingredients are simple, and once you have everything, you’re ready to make your own kinetic foam.
How to Make Kinetic Foam: Step-by-Step Instructions
Follow these easy steps to make your own kinetic foam at home. Feel free to customize it by adding your favorite colors!
Step 1: Add Shaving Cream to the Bowl
Start by squirting a generous amount of shaving cream into your mixing bowl. I usually aim for about 1 cup of shaving cream, but you can eyeball it. The amount of shaving cream you use will determine how much kinetic foam you’ll make.
Make sure you’re using a foaming shaving cream, not a gel. The foaminess is what gives kinetic foam its light texture.
Step 2: Add White Glue
Next, pour in about 1/4 cup of white school glue. The glue is what helps everything stick together, so make sure to add enough. I’ve found that this amount creates a nice balance between fluffy and moldable foam.
Step 3: Stir in Liquid Starch
Now comes the magic ingredient: liquid starch. Slowly pour in about 2 tablespoons of liquid starch, and begin stirring the mixture with a spoon or spatula. As you stir, you’ll notice the mixture start to thicken and take on a foam-like consistency.
If the foam is still too sticky, you can add a little more liquid starch, but be careful not to overdo it. You want your kinetic foam to be moldable but still soft and squishy. I recommend adding the starch gradually and mixing well after each addition.
Step 4: Add Food Coloring (Optional)
Want to make your foam extra fun? Add a few drops of food coloring to the mixture and stir until the color is evenly distributed. You can use any color you like—or even multiple colors to create a rainbow effect.
I love using bright, neon colors because they make the foam look even more playful, but you can experiment with any shades that catch your eye.
Step 5: Knead and Play!
Once everything is combined and the foam has thickened to your liking, it’s time to get your hands in there! Knead the foam with your hands to ensure all the ingredients are fully mixed. This is the part where you can really start to feel the foam taking shape—it’s super satisfying!
The foam should be soft, airy, and moldable. If it’s too sticky, you can add a bit more liquid starch. If it feels too stiff, add a small amount of shaving cream or glue to soften it up.
Why Kinetic Foam is So Fun
One of the reasons I love kinetic foam is that it’s less messy than other DIY materials like slime or clay. It’s easy to clean up, and because it’s moldable, it holds its shape well, allowing for endless creativity.
Kids love kinetic foam because it’s tactile and fun to play with, and I’ve found it to be a great sensory activity. Adults, on the other hand, might enjoy it as a calming, stress-relieving material—perfect for those days when you just need to unwind.
Final Thoughts
Learning how to make kinetic foam is simple, fun, and a great project for both kids and adults. Whether you’re looking for a rainy day activity or just want to create something squishy and playful, kinetic foam is the perfect solution. The best part? You can customize the colors and textures to make it uniquely your own.
Ready to give it a try? Gather your supplies and get started—there’s something incredibly satisfying about creating (and playing with) your own foam! If you’re looking for more fun craft ideas, check out this guide on DIY sensory play materials.
Happy crafting!