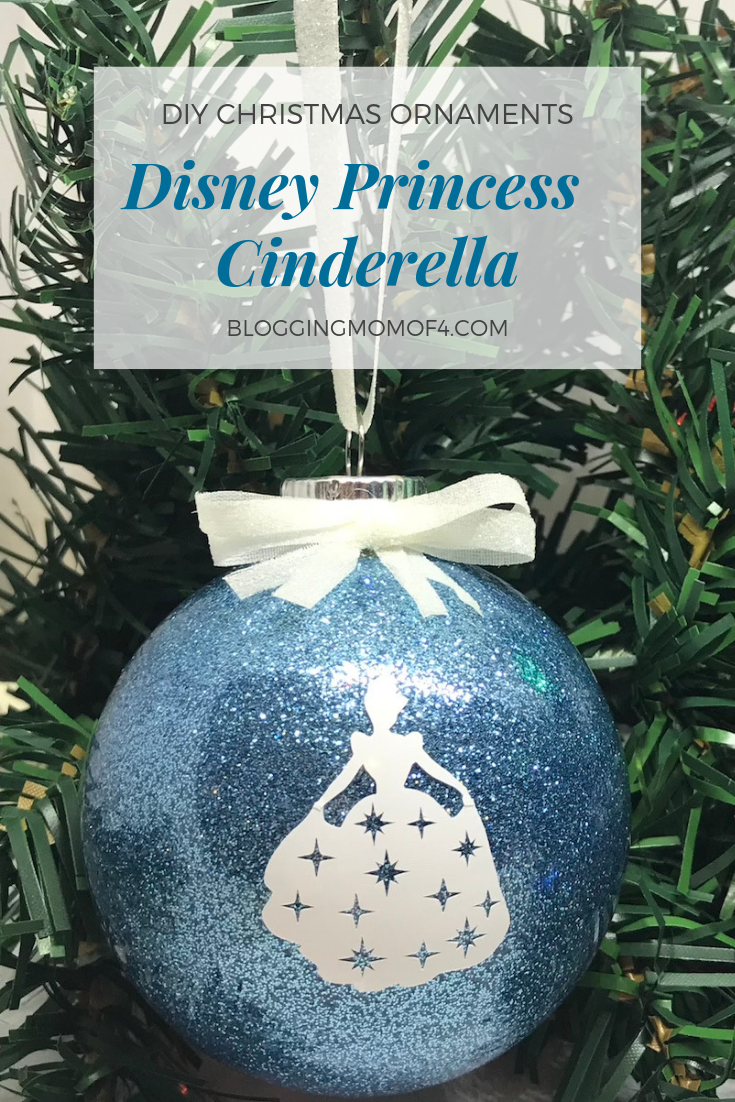
I have been making a lot of Christmas Ornaments this year. Primarily for my Paisley Hanger Boutique. So I’ve been having a lot of fun using glitter to make them bright and fun. Which inspired me to create some DIY Disney Princess Christmas Ornaments. The first being Cinderella.
Cinderella is very much a classic Disney Princess so is naturally why she might have come first to mind.
DIY Disney Inspired Princess Christmas Ornaments
List of Supplies
- Round glass ornaments or round shatterproof ornaments
- Glitter
- Minwax Polycrylic Water Based Protective Finish
- Funnel
- Silhouette or Cricut vinyl cutting machine
- Vinyl (I use Oracle 651 outdoor vinyl)
- Vinyl cutting supplies: weeding tool, squeegee, transfer tape, etc.
- Paper towel
- Plastic or paper disposable cups
- Rubbing alcohol for cleaning ornaments
- SVG file
- Ribbon (optional)
- Glue gun to apply any bows or ribbon (optional)
I used glass bulb ornaments that you can pick up at Walmart or craft stores like JoAnn or Michaels. Other options would be the shatterproof/plastic bulbs and/or the flat vs. round bulb. The flat bulb is certainly a bit easier to apply the vinyl but I prefer the round.
You’ll also find a lot of DIY Glitter Ornament instructions that use a floor cleaner vs the Minwax. I tried the floor cleaner/wax/polish and did NOT get good results. So I highly recommend spending a little bit more to get the Minwax. You really don’t use a lot so you’ll be able to make a lot of ornaments with one little jar.
Creating the Glitter Ornaments
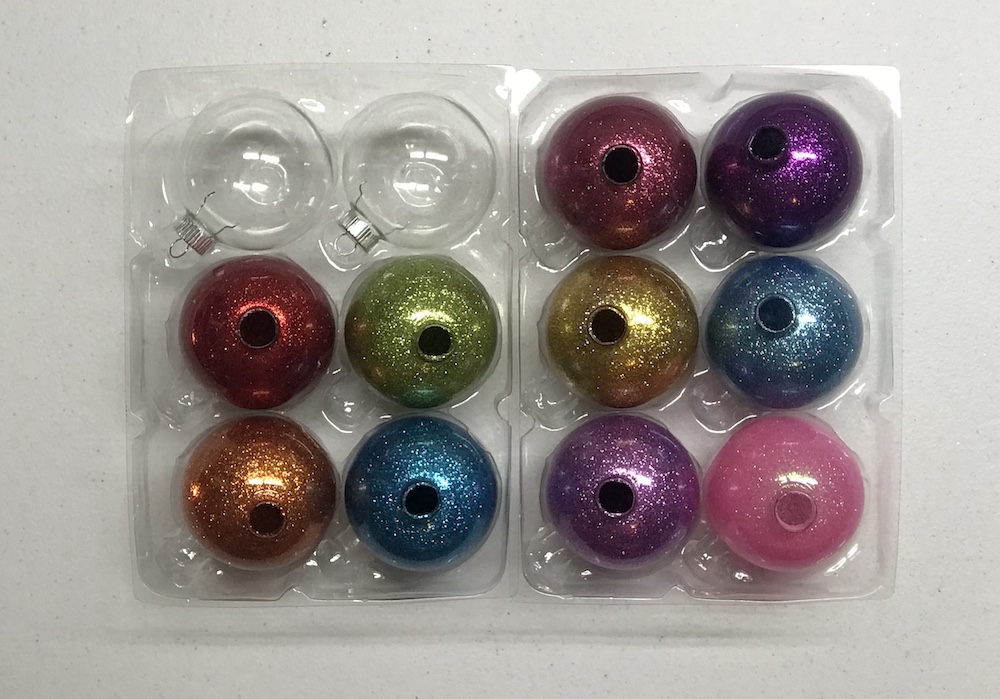
I went ahead and made up a bunch of Disney Princess inspired colors so that I can make several ornaments over the course of the next couple weeks.
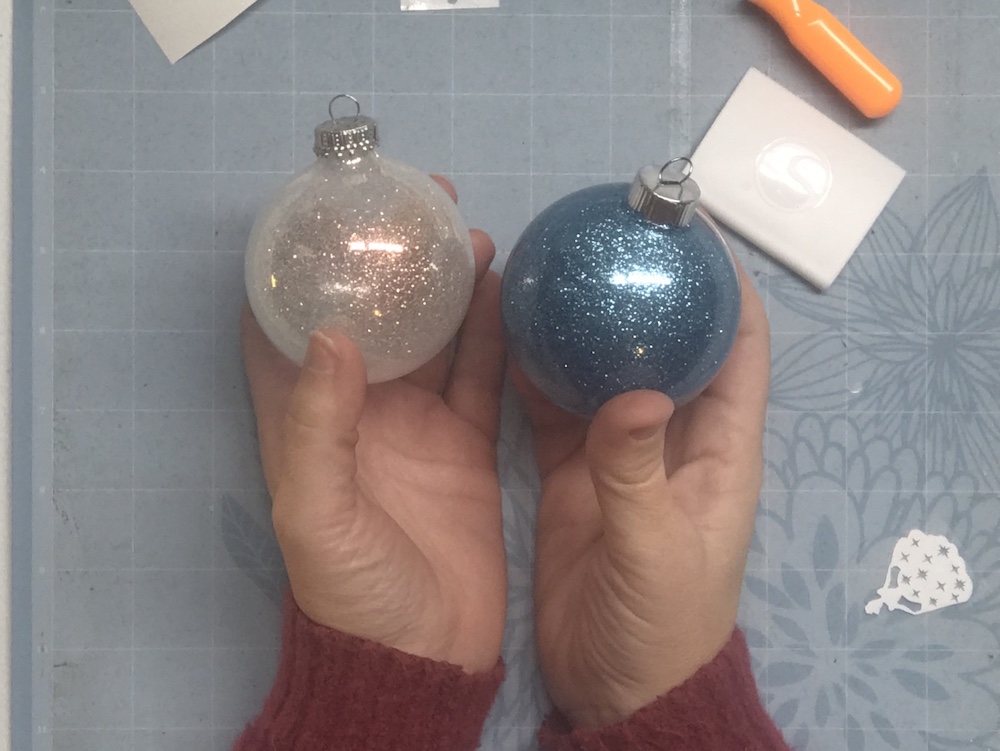
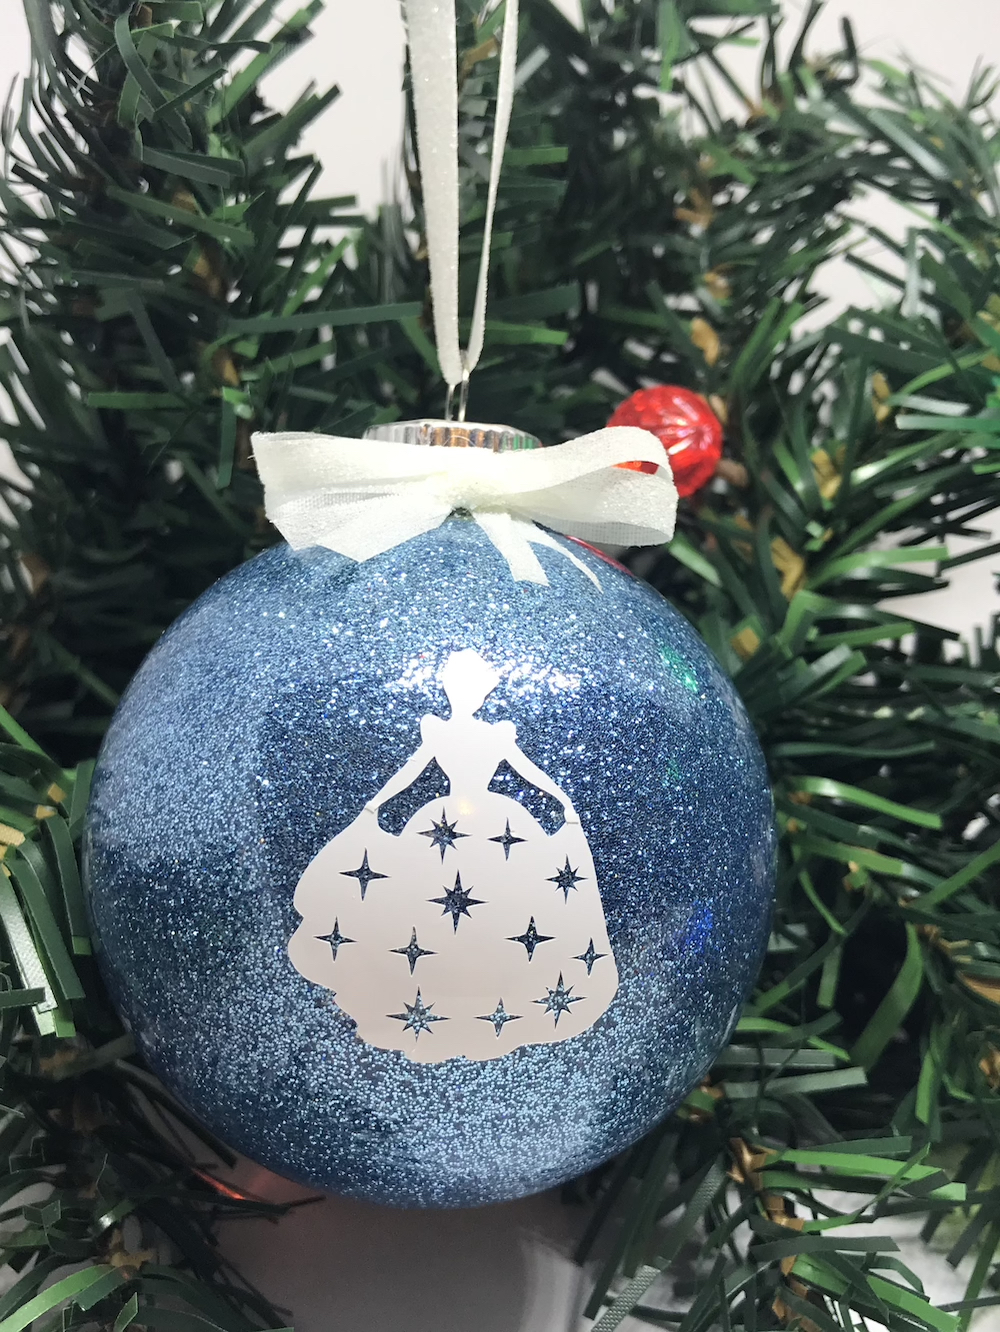
First up is the light blue Princess Christmas Ornaments Cinderella. You could go with the white glitter ornament or the light blue. I went with the light blue because that’s the color that I identify with Cinderella.
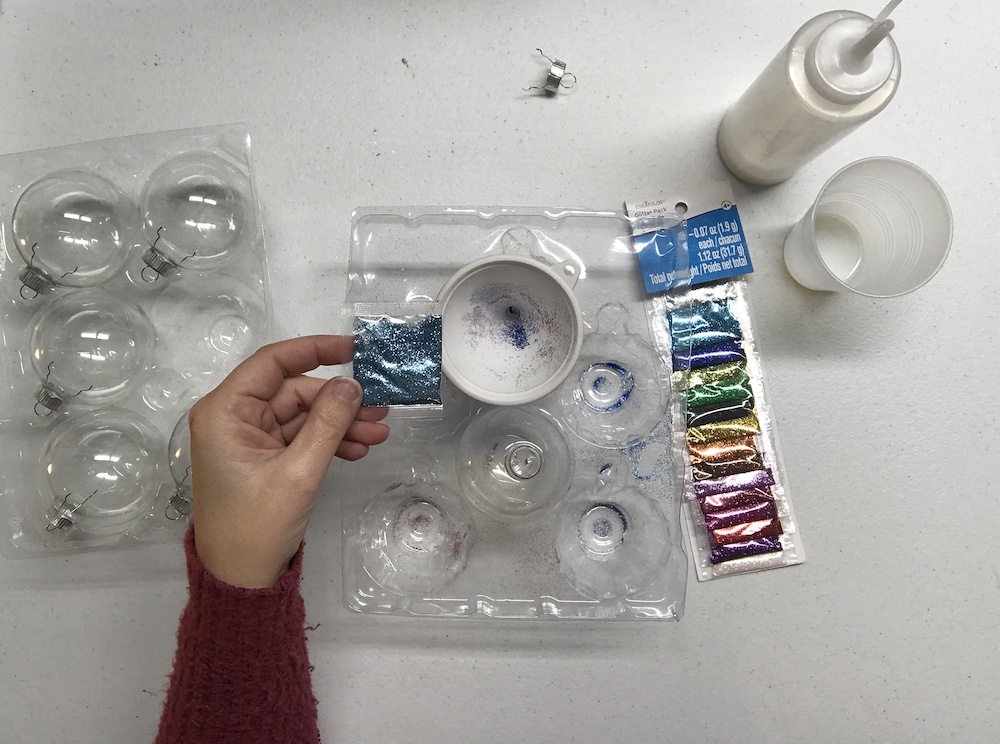
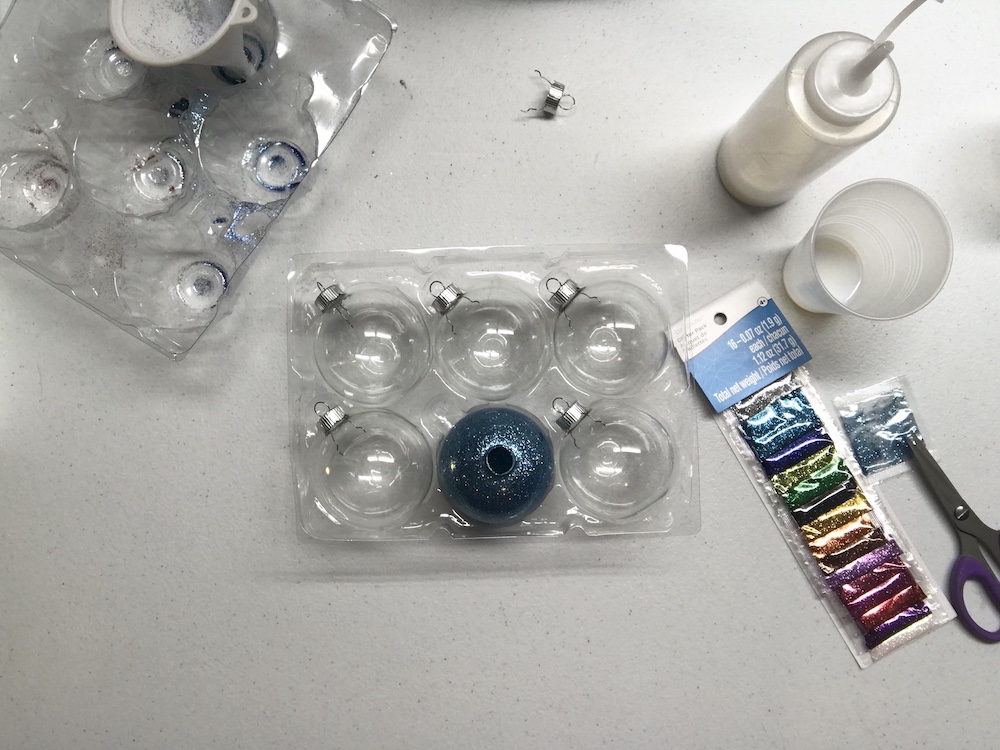
I use the packaging that the glass ornaments came in for part of my work surface. These hold the bulbs securely when needed. And also help control the glitter mess. Which, to be honest, the glitter ends up all over no matter how controlled I try to keep it. 😉
I also use a ‘ketchup’ bottle for the Minwax. This makes it super easy to pour into the ornaments. When you first open the Minwax can, mix well with a stir stick but never shake. Shaking causes bubbles that you don’t want inside your ornaments.
Pour enough Minwax into your ornament to coat all around.
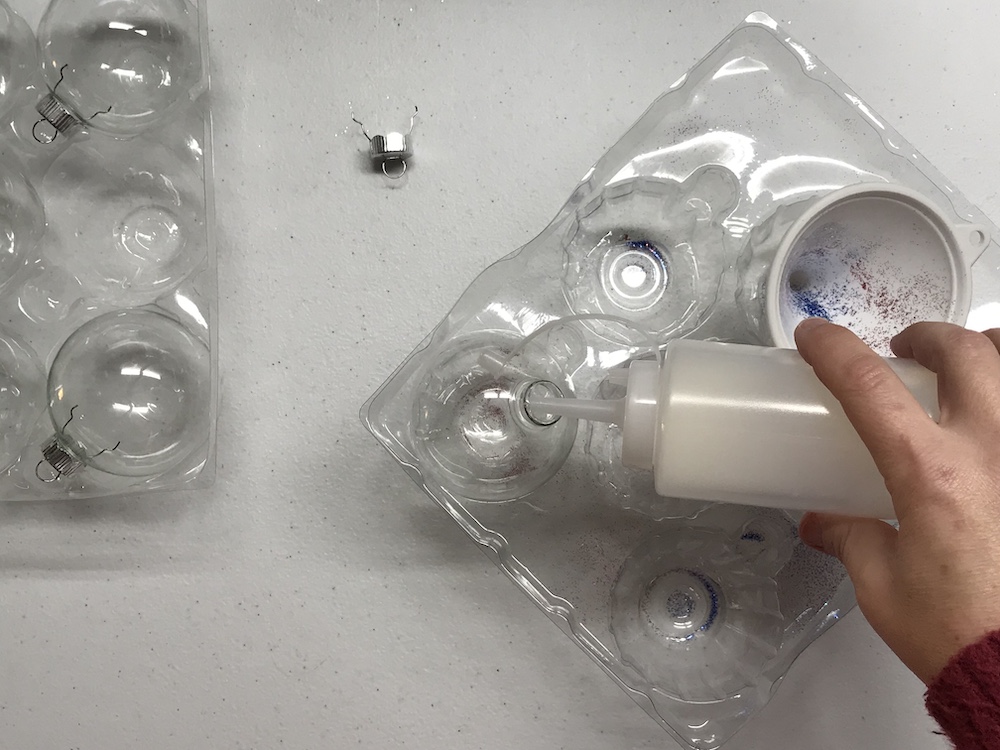
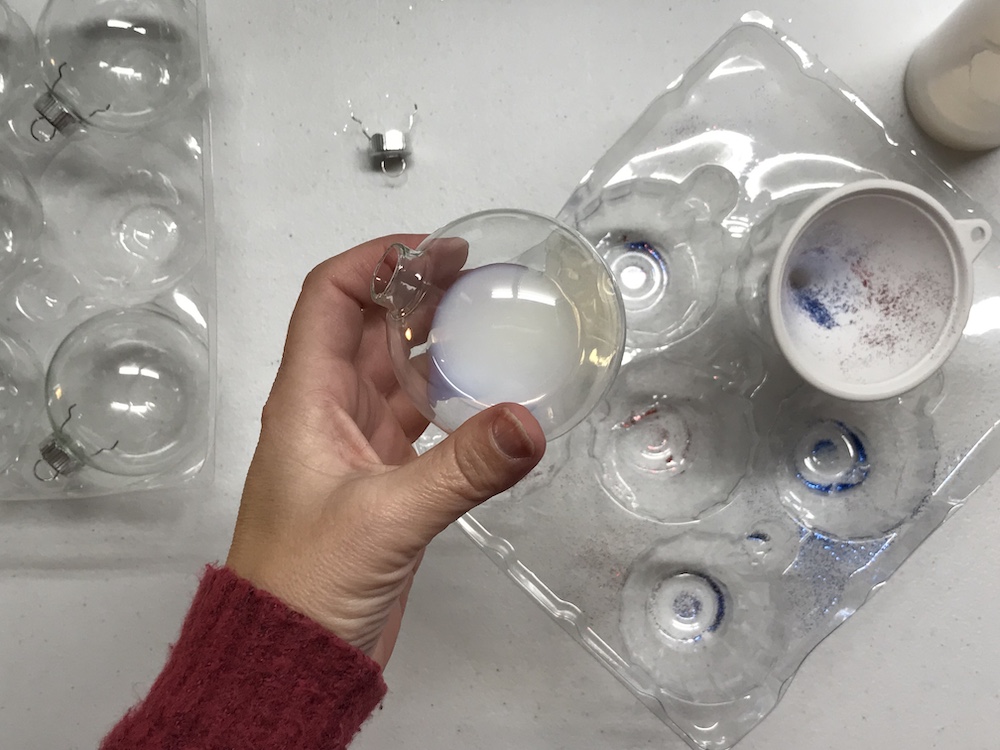
Rotate the ornament so that it’s evenly coated.
I also have a few disposable cups handy so that once I’ve coated the bulb with Minwax, I can pour the extra out. Then I set it upside down in the cup to allow all of the extra to drain.
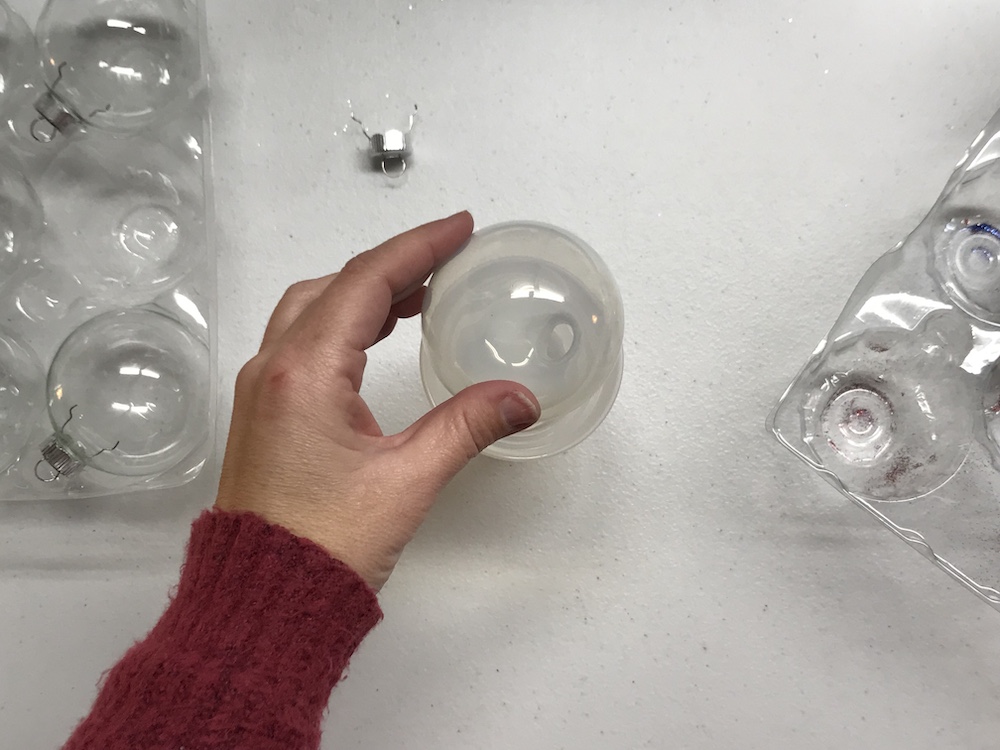
Leave sit for at least a few minutes to allow for all of the extra to drain out. You can take a paper towel and grab any extra from the opening of the ornament.
Now you’re ready to add the glitter. Using a funnel, pour enough glitter into the ornament to fully cover all around.
I picked up this glitter pack assortment from Michaels. Some of the ornaments used up 1 full package while other ornaments used 1 1/2 packets.
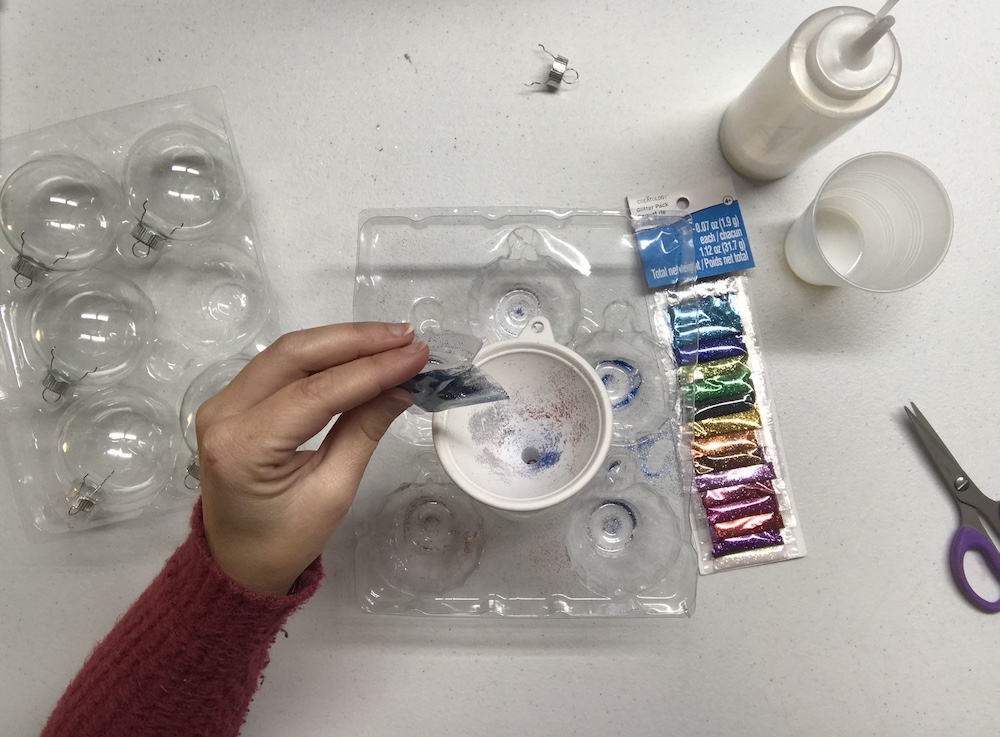
With glitter in the bulb, rotate again so you fully cover all around. Once you get to a point where just the opening is left to coat, use your thumb (preferably with a paper towel) to cover and then shake to cover the opening of the bulb.
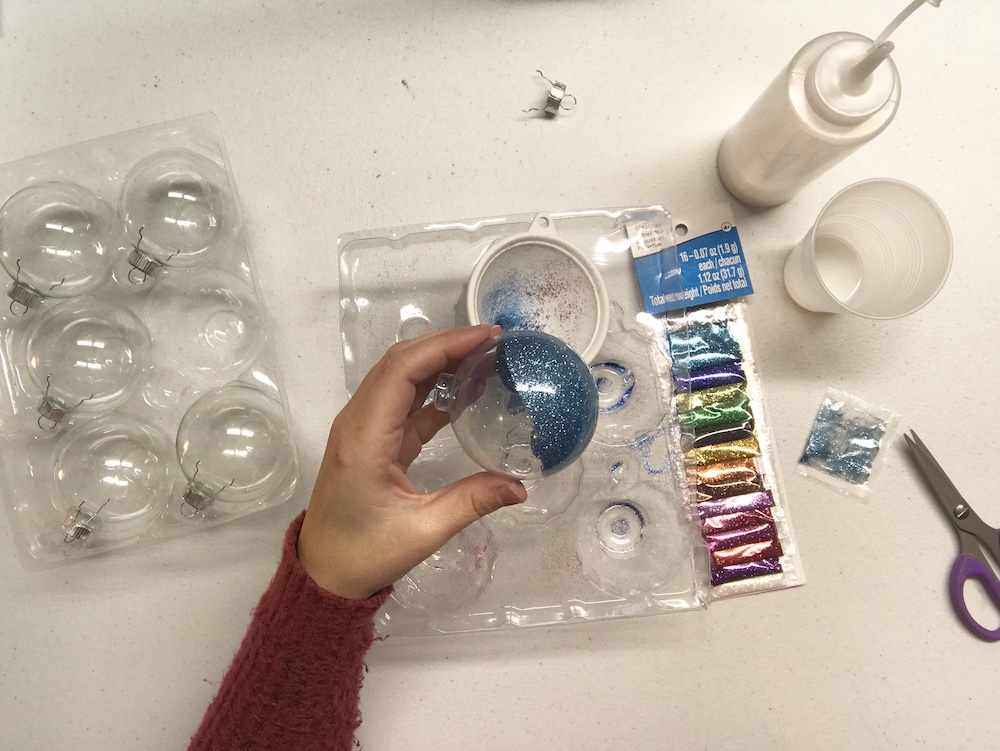
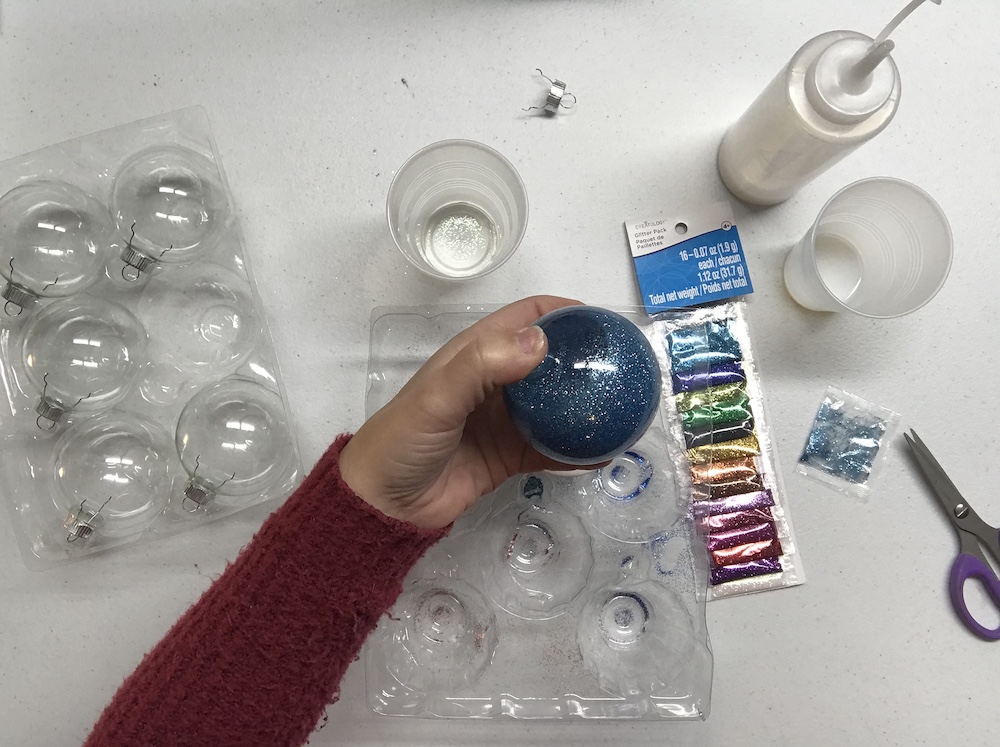
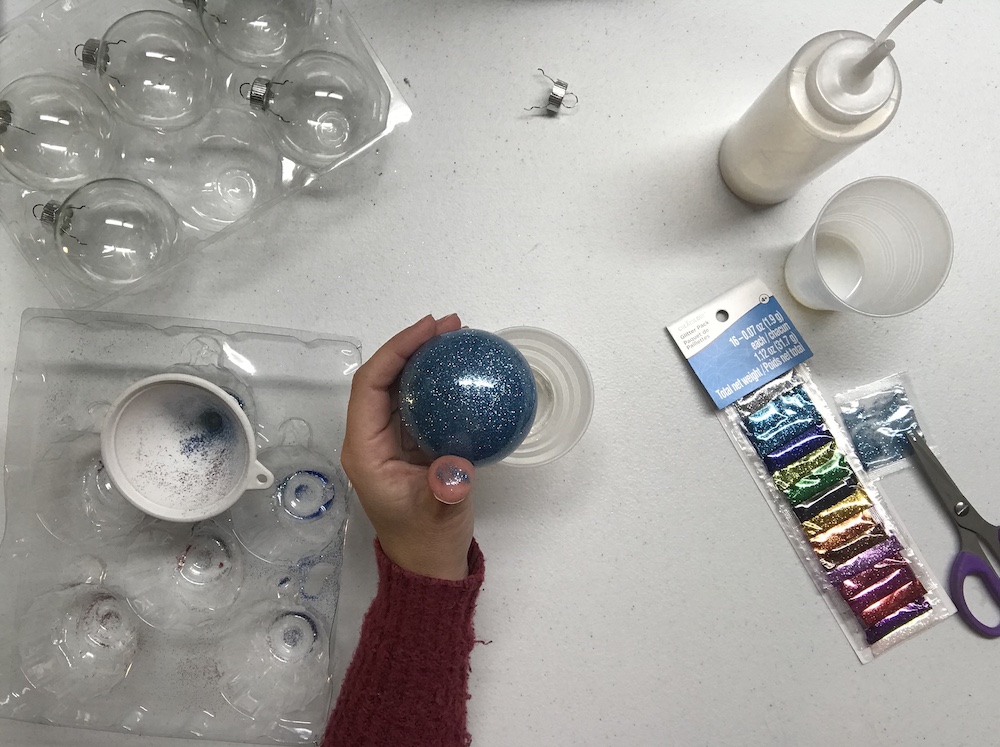
Now just set aside to dry. Don’t worry about adding the top hanger back into the bulb until it’s dry and finished. Otherwise, you risk scratching the glitter at the opening of the bulb.
Adding the Cinderella Design to the Princess Christmas Ornaments
If you’re impatient like me, you can go ahead and add the vinyl to the bulb now but it wouldn’t hurt to let it dry for a day. While you’re waiting, you can start on your Cinderella design. Oooh but before you do, grab the rubbing alcohol and clean the outside of your ornament. This will remove any finger prints, etc from the bulb and make for better adhesion.
First step is using your Silhouette or Cricut machine to cut your vinyl Cinderella silhouette. I use the Cameo Silhouette and love it. I used it to create the Cinderella SVG file. You can download it at the link below and upload it to whichever you use.
Download the FREE Christmas Ornaments Cinderella SVG file.
In Silhouette, opening the design is as easy as dragging your SVG file from your desktop, into your Silhouette program or into your library.
You’re going to want your design pretty small. I ended up making the design 1.396 x 1.103. When you have any larger vinyl area and are trying to apply it to a round/curved surface, it can be challenging. So making it smaller will help but not so small that you can’t weed it.
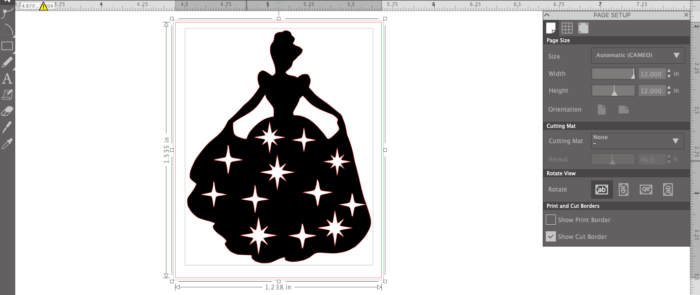
This design, while small, was pretty easy to weed.
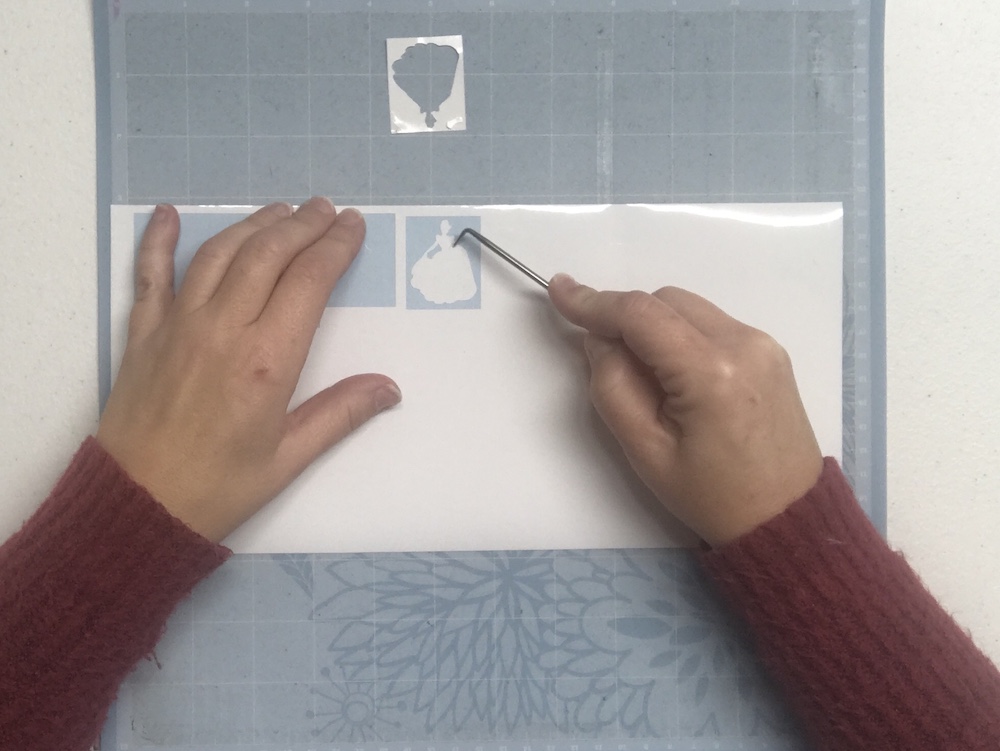
Once weeded, you’ll use your squeegee and transfer tape to pull up the vinyl design from the Oracle 651 backing.
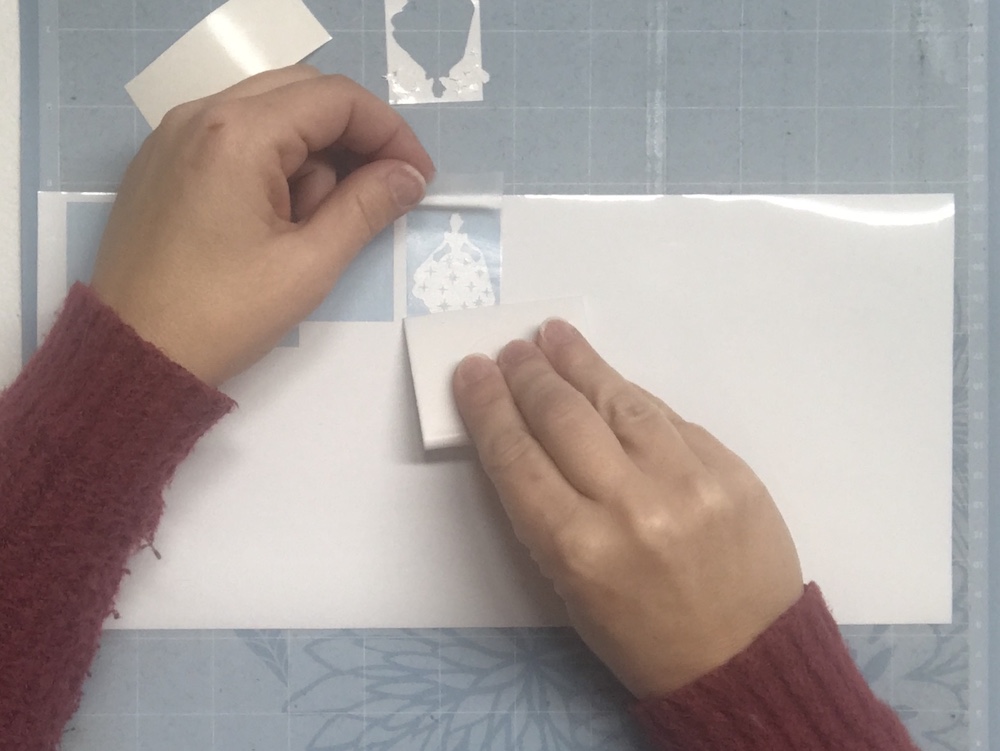
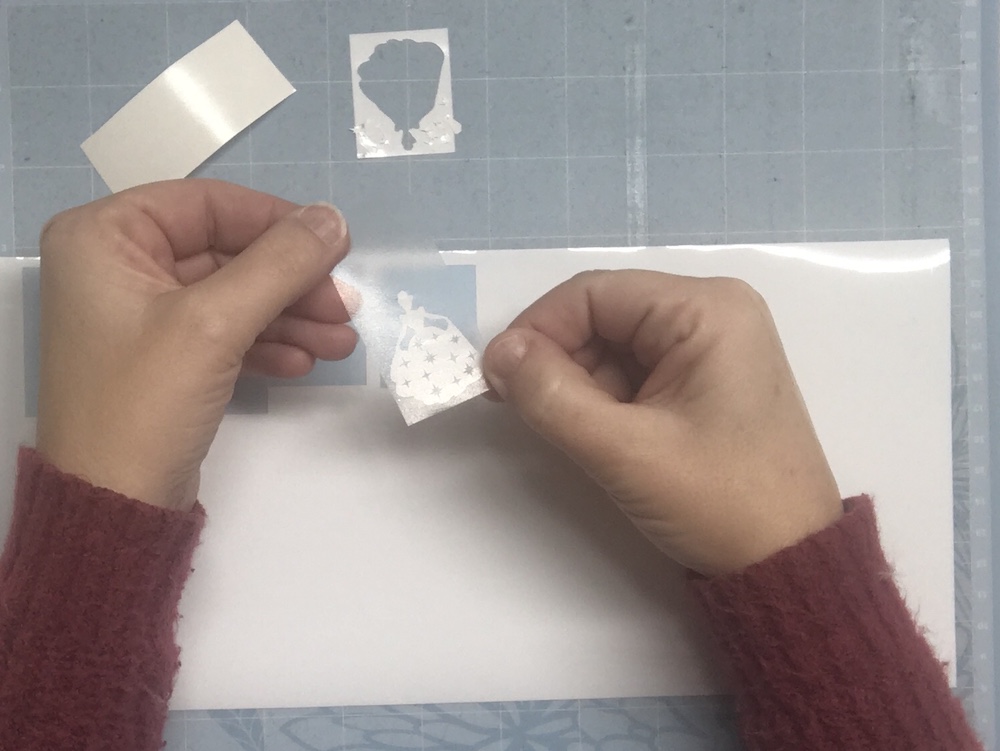
Then you’ll carefully apply the Cinderella vinyl to the bulb. The vinyl is not all that forgiving so once you place it, that’s usually where it’s going to be. This design doesn’t have a lot of small parts so it’s not too bad if you need to try to pull up one side. But at any rate, trying to get it positioned right the first time, is always a good idea.
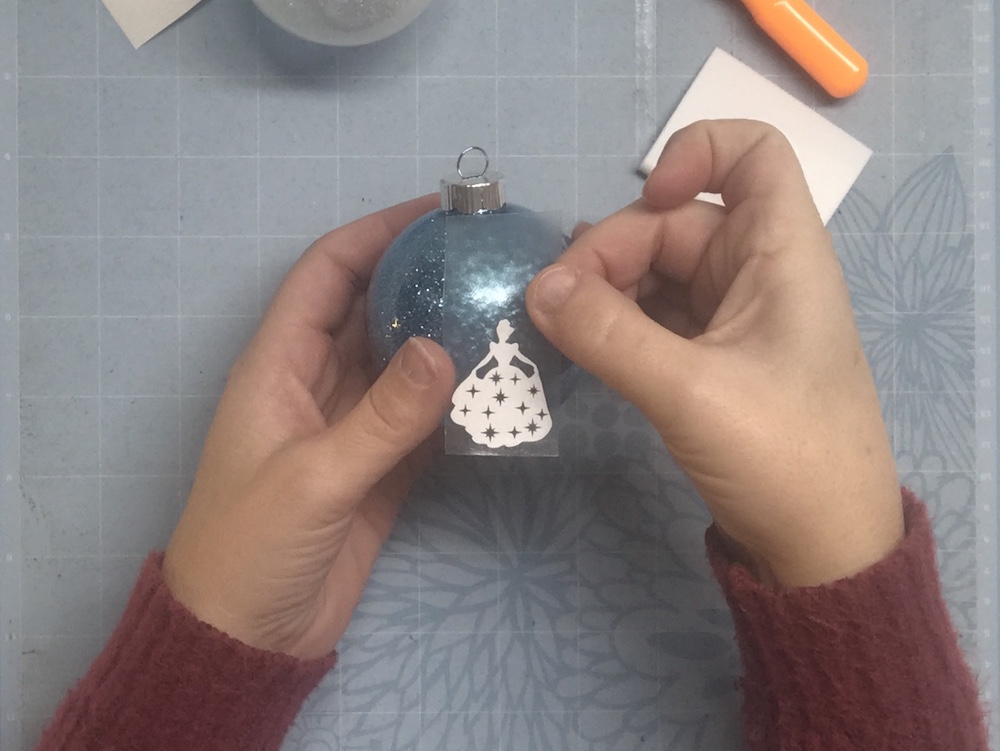
As I mentioned, this design combined with the curve of the bulb, can be challenging. Just work it around the best you can, getting out any air bubbles as you go.
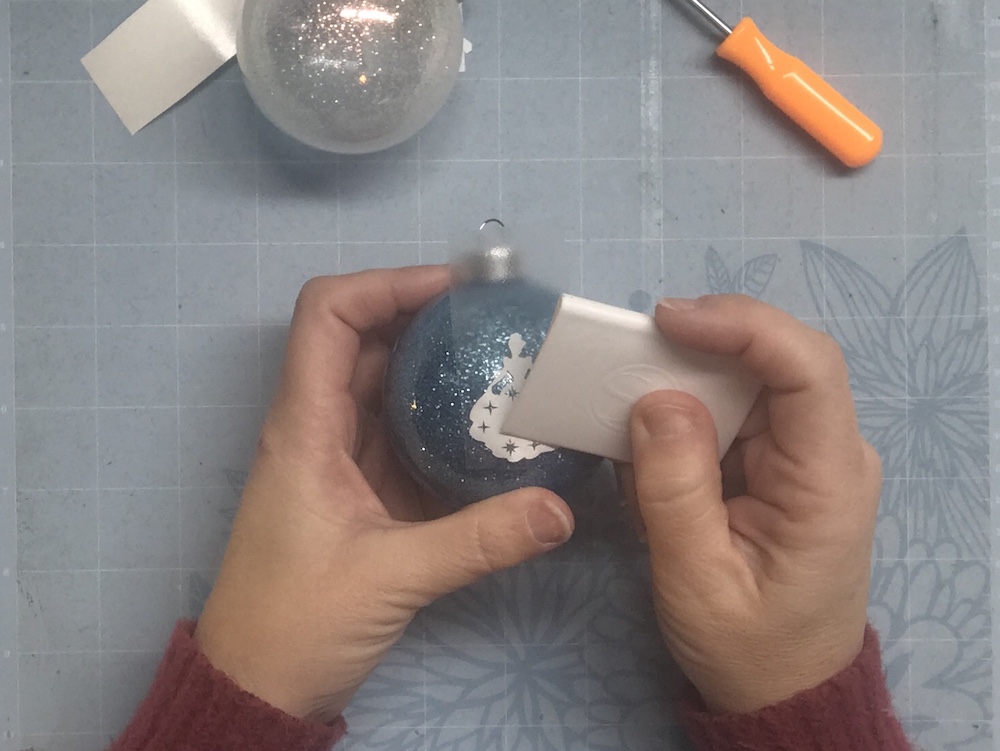
I ended up making two small cuts where her hands are holding her dress, just because of the way it laid on the curve of the bulb. The hands now overlap the dress just a tiny bit but I think it looks just fine. Sometimes you have to make adjustments like that to get it to lay right.
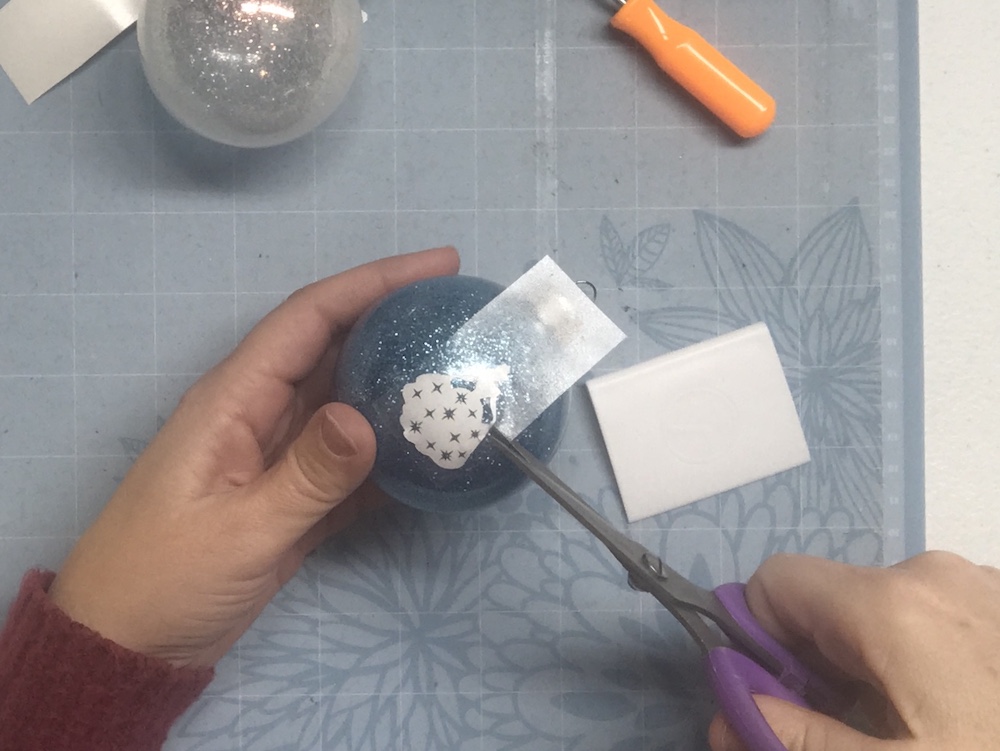
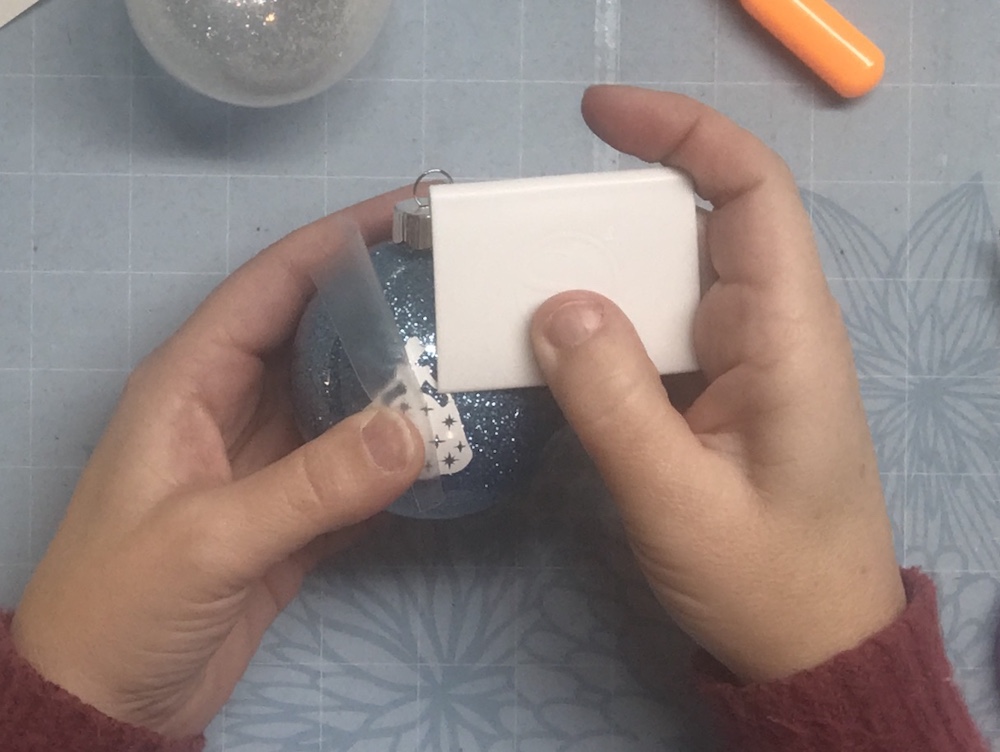
Viola! You now have a beautiful DIY Disney Inspired Princess Christmas Ornaments Cinderella. Add a little ribbon and you’re ready to hang on your tree.
I did make a video with instruction, tips, and tricks of applying vinyl to glass ornaments and mugs. Make sure to watch it if you’re still a little unsure how this works.
I’ll be making more Disney Princess Inspired Christmas Ornaments in the next couple weeks so make sure you come back for more. Now that we covered the basics in this post, the next ones won’t be nearly as long. 😉
I love these! The kids are going to have a great time helping to make ornaments.
Those are adorable
Thank you! I had so much fun making it.