Like it or not, I am reminded today just how close we are to cold and flu season. Actually, I think it is already upon us. That little tickle you get in the back of your throat, the sneezing, the coughing… it’s coming. Make sure you’re prepared and stocked up on these DIY Sinus Relief Shower Melts.
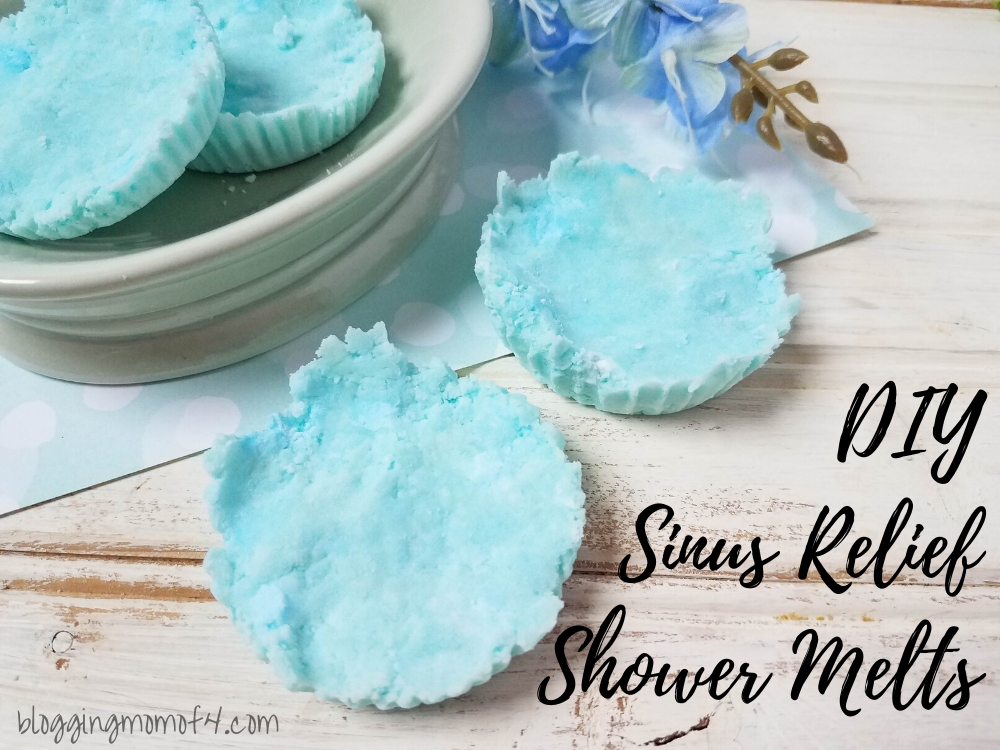
Vicks Vapor Rub has been around forever and the magical cure for what ails you. If your mom didn’t put Vicks on your throat, did you even have a childhood? 😉 Vicks Vapor Rub is what helps these little DIY Sinus Relief Shower Melts work their magic.
DIY Sinus Relief Shower Melts
These are very easy to make so make up a batch and keep them on hand.
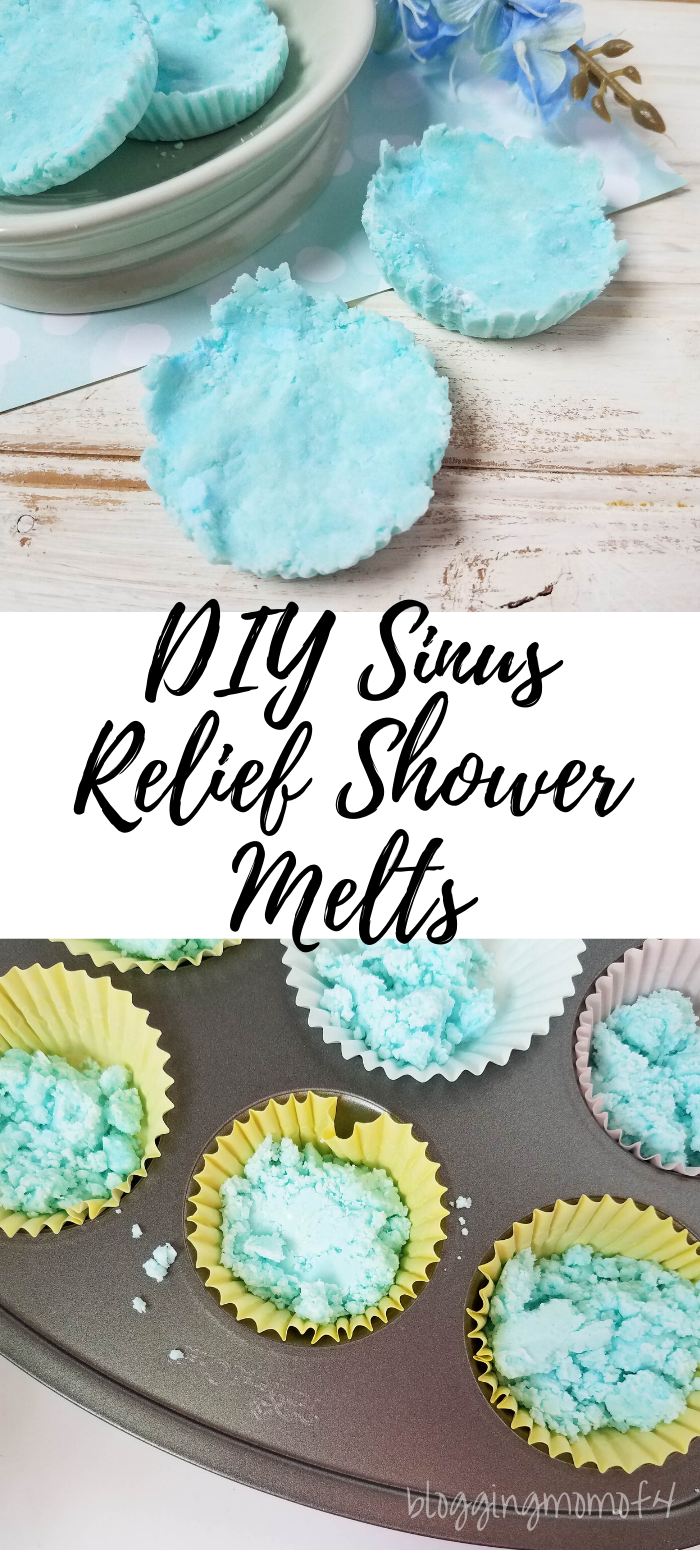
First you are going to line a muffin pan with 2 paper cupcake liners in each tin.
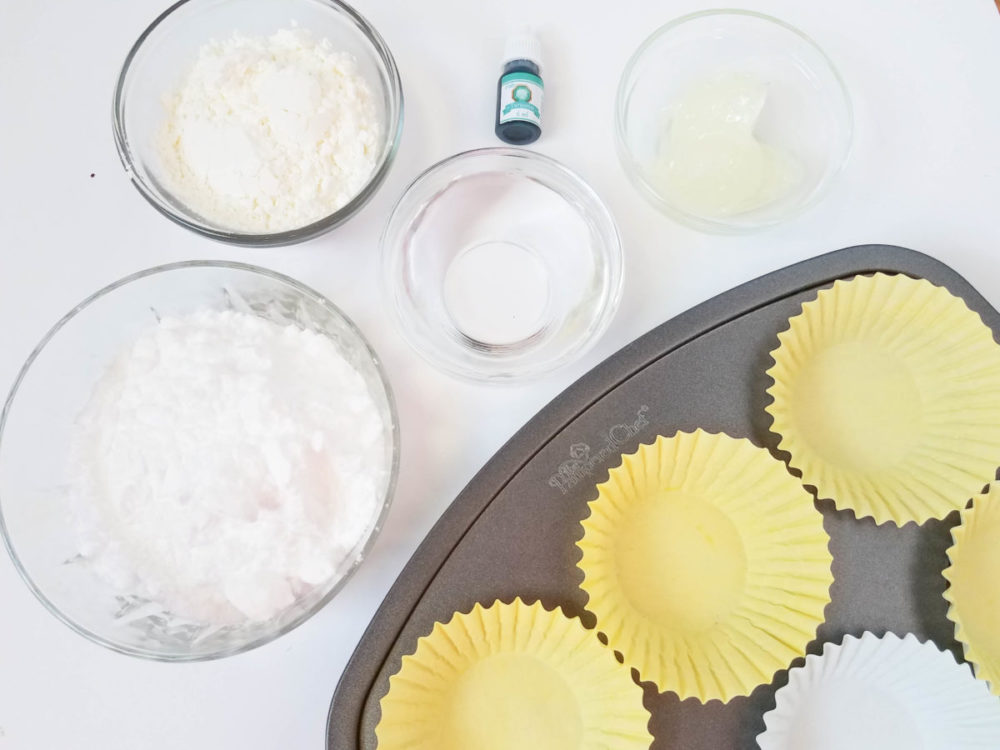
Then, in a small sauce pan, heat 1/3 cup of water and stir the vaporizing rub in. Continue stirring until the vaporizing rub has melted into the water.
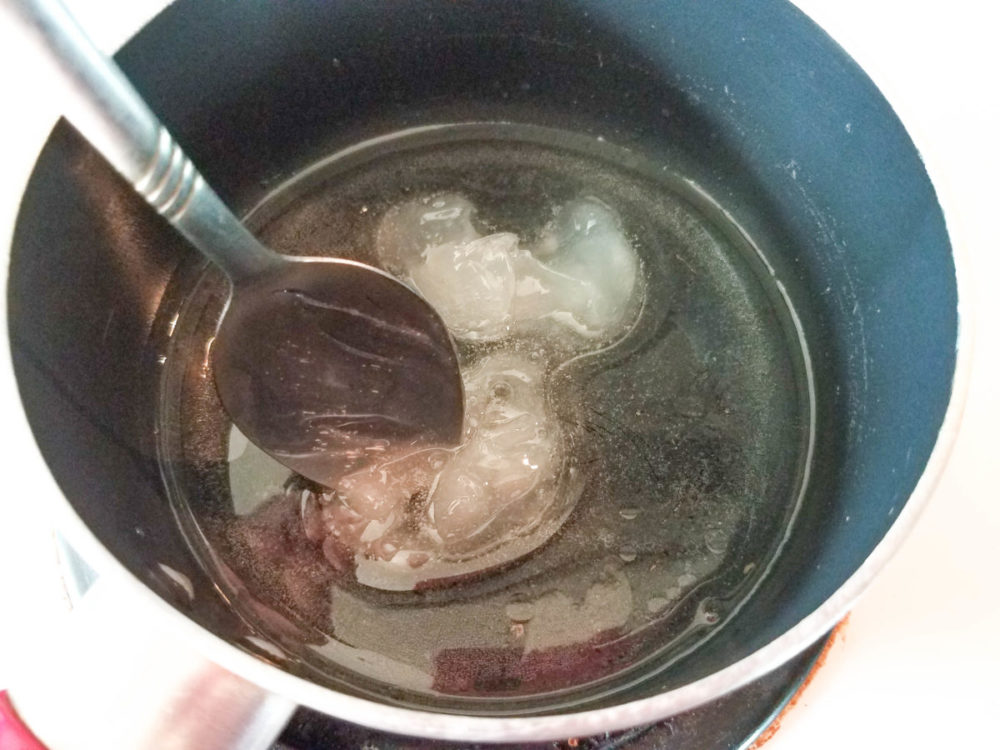
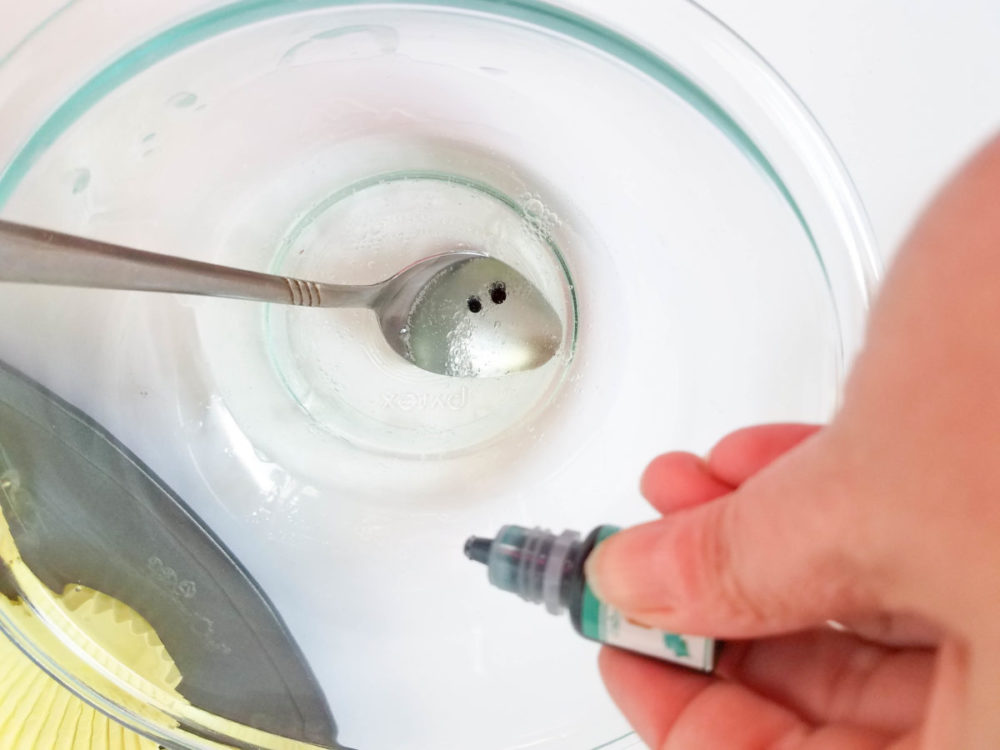
Add the baking soda and cornstarch, and the (optional) soap colorant. Stir well until you have a thick paste-like mixture.
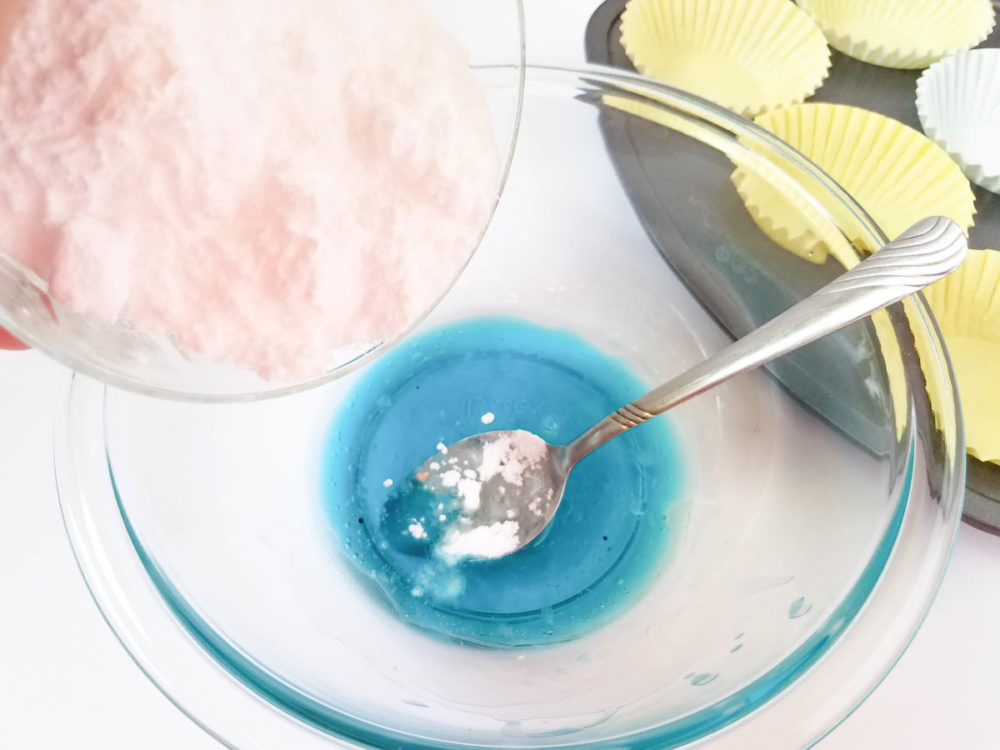
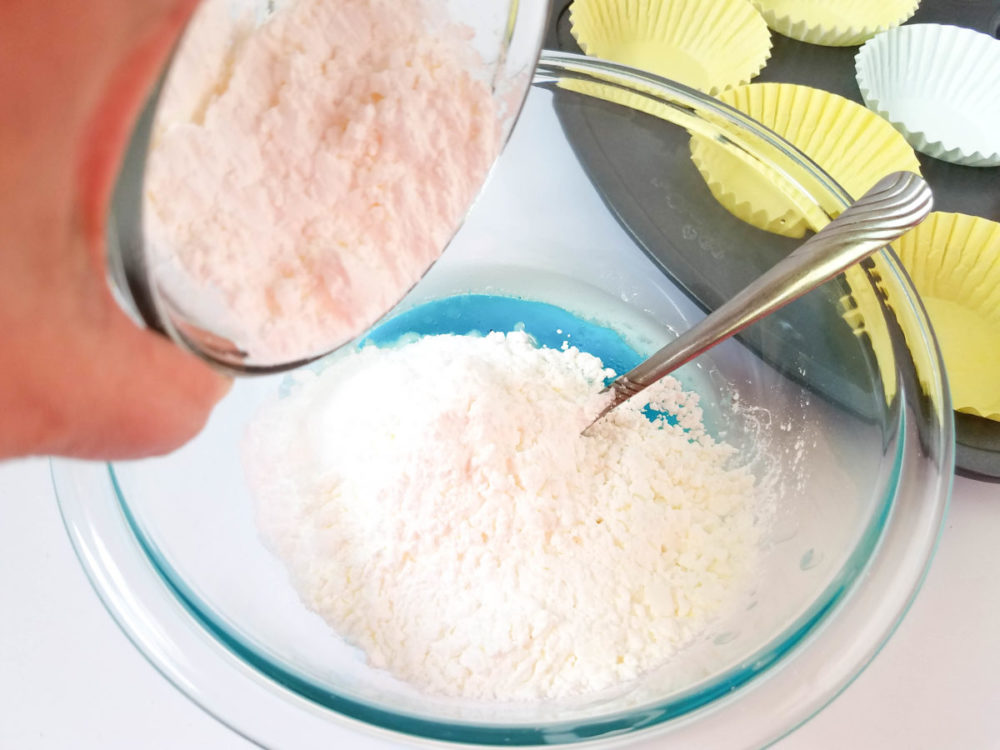
Split the mixture between the muffin liners. Press down with your fingers or a spoon to help it form.
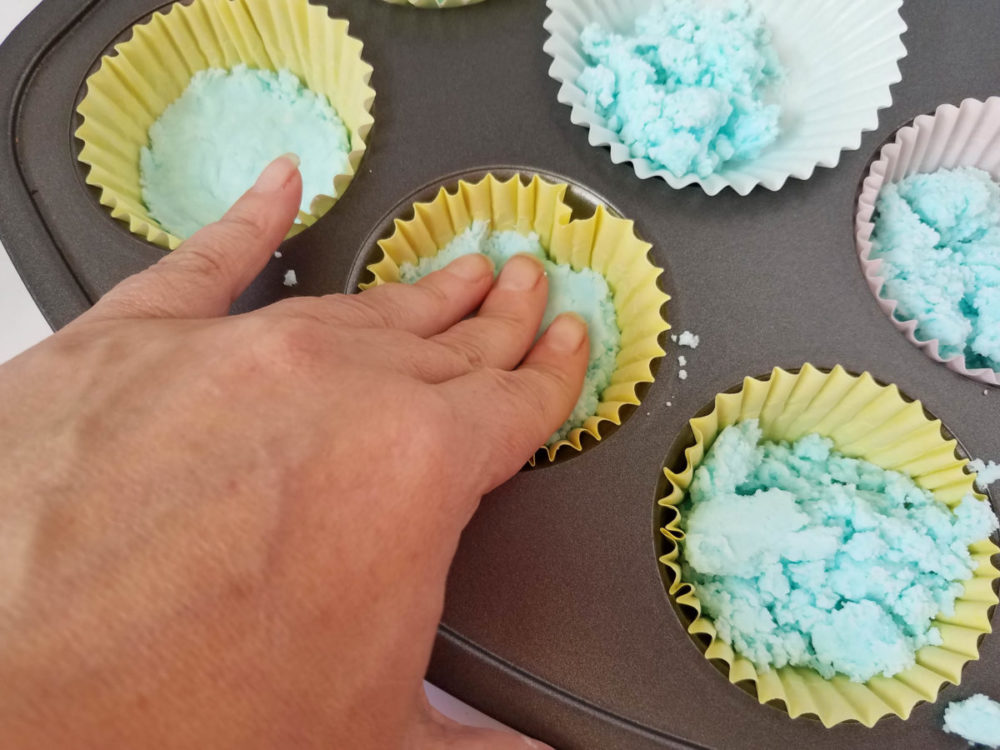
Place muffin tray in a safe spot away from children and let sit overnight to harden.
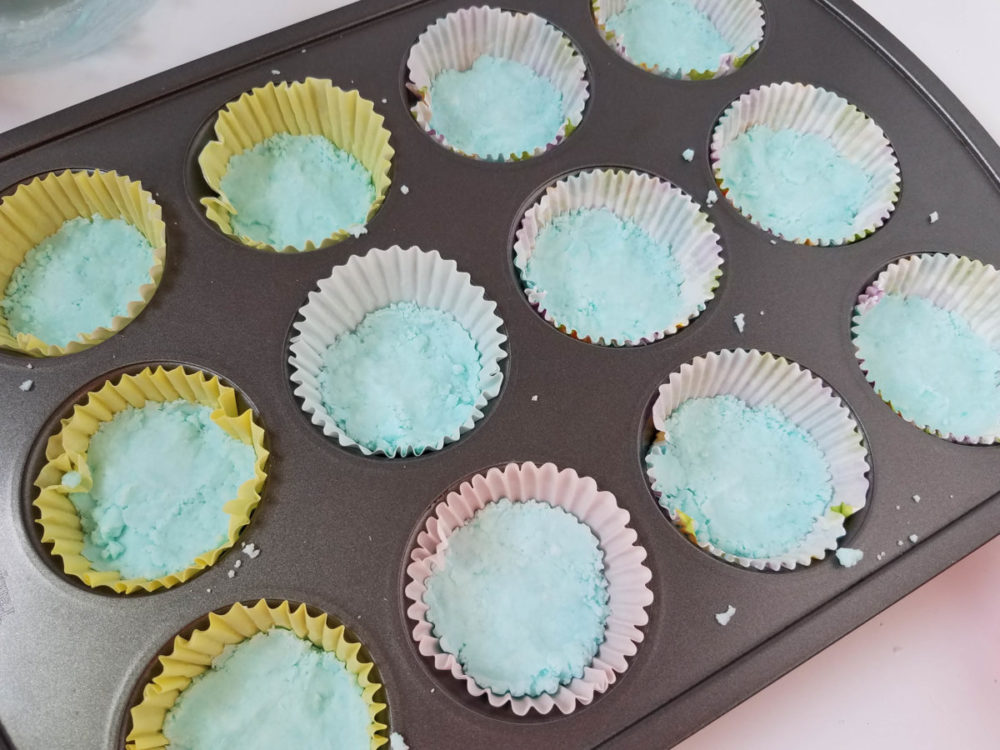
Finally, remove from muffin pan and store in an airtight container until ready to use.
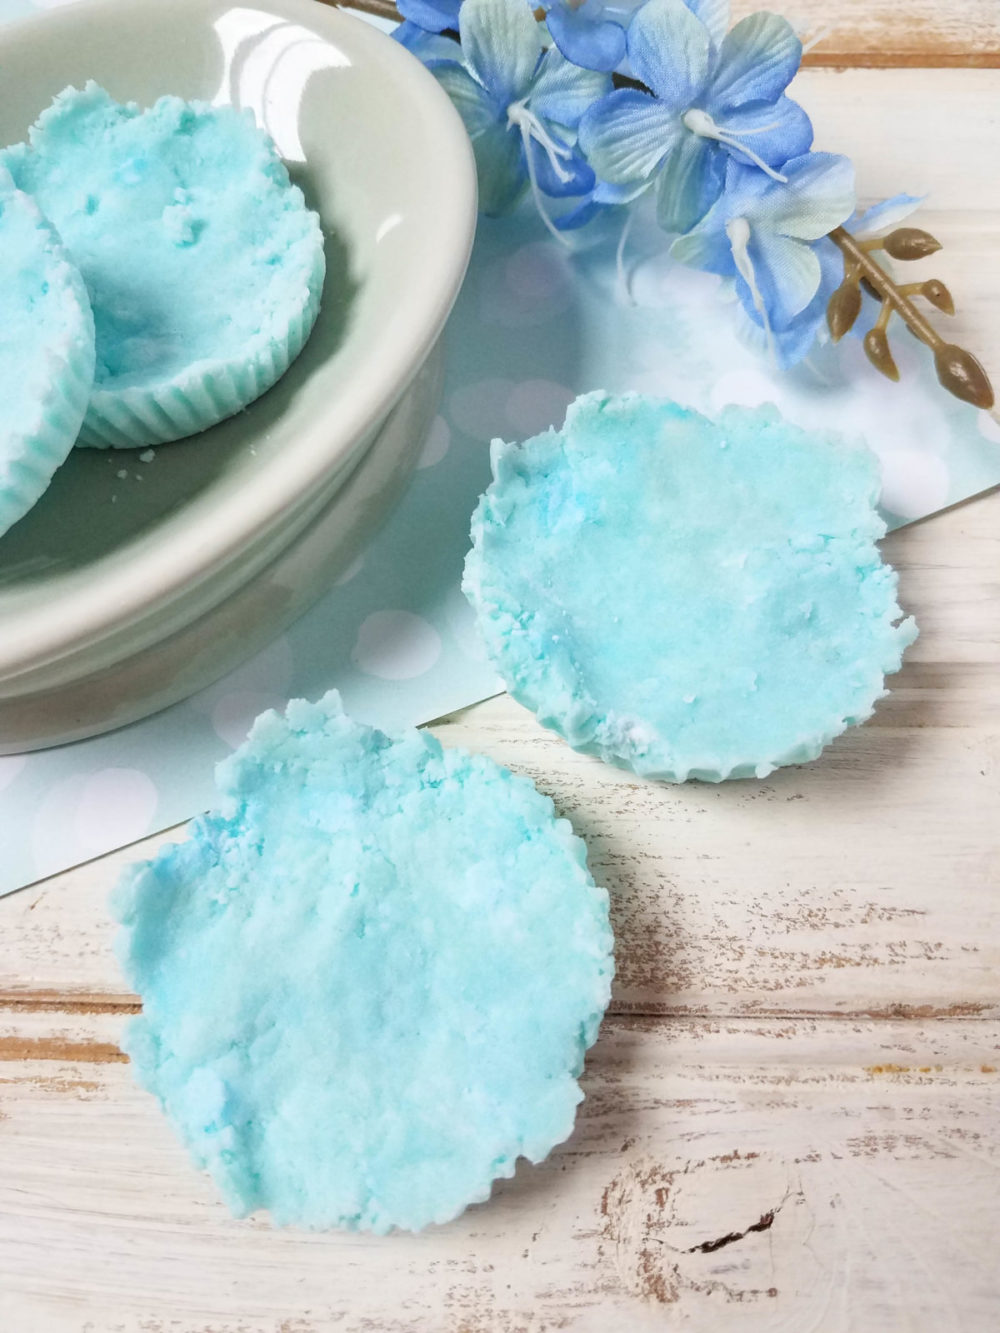
Then as needed, place one or two of the DIY Sinus Relief Shower Melts in the bottom of your shower and let the vapors work. Between the heat from the shower and the vapors of the shower melts, you should be feeling sinus pressure relief in no time.
Here is the full recipe that you can print.
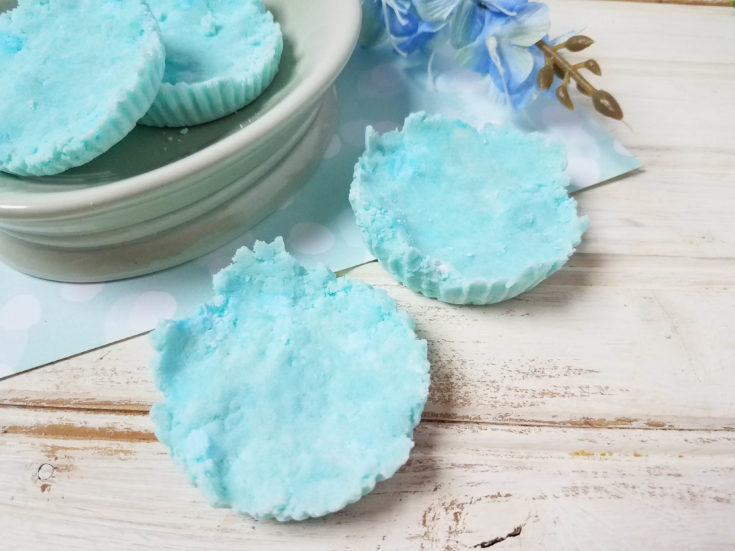
Make ahead these DIY Sinus Relief Shower melts so you're prepared as we go into cold and flu season. 1. Line a muffin pan with 2 paper cupcake liners. DIY Sinus Relief Shower Melts
Ingredients
Instructions
2. In a small sauce pan, heat 1/3 cup of water and stir the vaporizing rub in. Continue stirring until the vaporizing rub has melted into the water.
3. Add the baking soda and cornstarch, and the (optional) soap colorant. Stir well until you have a thick paste-like mixture.
4. Split the mixture between the muffin liners. Press down with your fingers or a spoon to help it form.
5. Place muffin tray in a safe spot away from children and let sit overnight to harden.
6. Remove from muffin pan and store in an airtight container.
This is so easy.. thanks! I have allergies so this is awesome!
I may have to make some of these come cold/allergy season. Thanks for sharing!
I was just diagnosed with a sinus infection today. Will definitely be bookmarking these!
These would sure come in handy at my house!
cant wait to make these!
OMG, these look great! And so easy! I will definitely be making some of these and keeping them handy!
Hi. Thanks for the recipe. I have seen many ways to make these, but my only question is this. About how big are these supposed to be? 2 Tablespoons, 1/2 cup…..etc. I’ve yet to see any reference even when using a mold. Just a ballpark is good…
Thanks
These are the size of a regular muffin tin. Probably 1/2″-1″ thick.