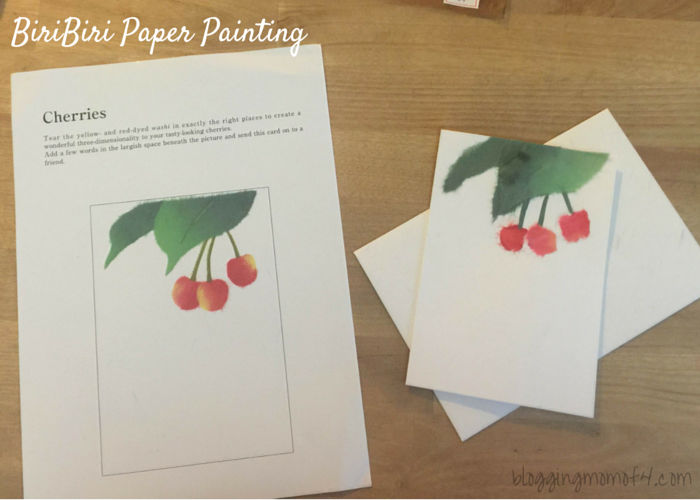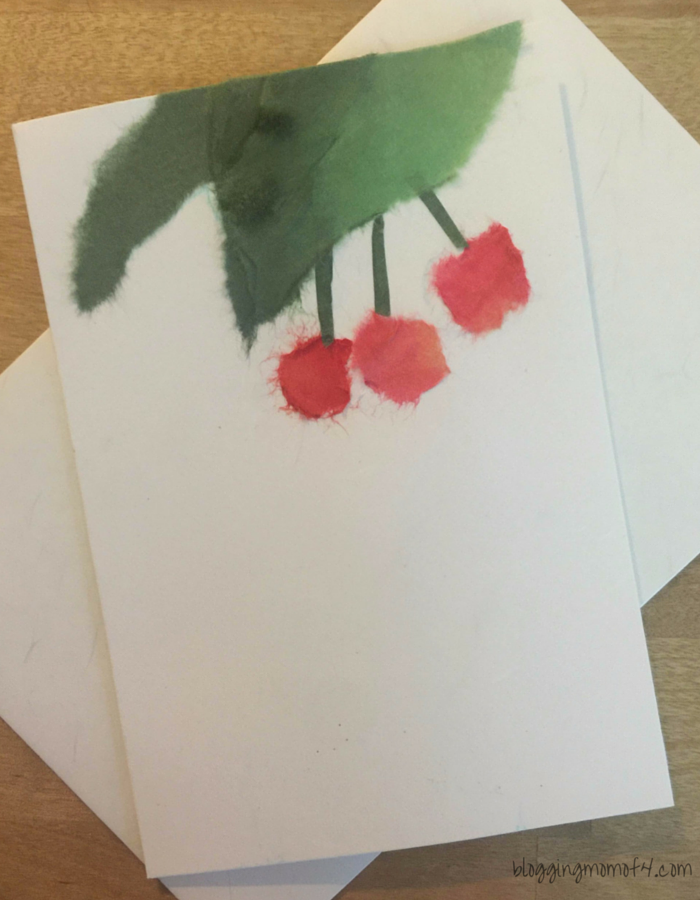
This is our second piece of Biri Biri that we’ve done. This is “Cherries” and is a wonderful way to create a homemade greeting card. My oldest daughter is the artist in our family so she’s been loving learning how to do paper painting. I have been enjoying it too.
Did you see our first Biri Biri design that we did? If not, definitely take a look. These first two projects were a learning experience for us. We learned that reading through the instructions is important. You can try to wing it but you’ll have better results and a lot more fun with it if you first read all of the instructions. I’d also suggest learning how to use all of the tools that are provided. Each one will give you different results.
One extra tip that we’ve picked up from our first piece to our second is to save all of the washi.
The more paper painting you do, the better you’ll become at it. So you may want to repeat some designs. I did that with the Cherries. I created another card and used the paint brush included with the kit. The paint brush helps you tear the washi in the shape you need for your designs.
Here’s a video we put together showing the steps we took with the Cherries. We took this on our first attempt without using the paint brush.

There’s so much you can do with the Biri Biri.
Need more help? The U-CAN Learning Method provides crafters with access to video tutorials and solutions to common issues that can pop up while creating Biri Biri collages.
What do you think? How did we do?
Want to try your hand at paper painting? Follow this link, purchase a Biri Biri set and get crafting!!
For a limited time, U-CAN is giving away free trial kits! All you have to do is click on this link to get a complimentary Biri Biri trial kit mailed to you … at no cost!
Have fun, take pictures and show me your creations!