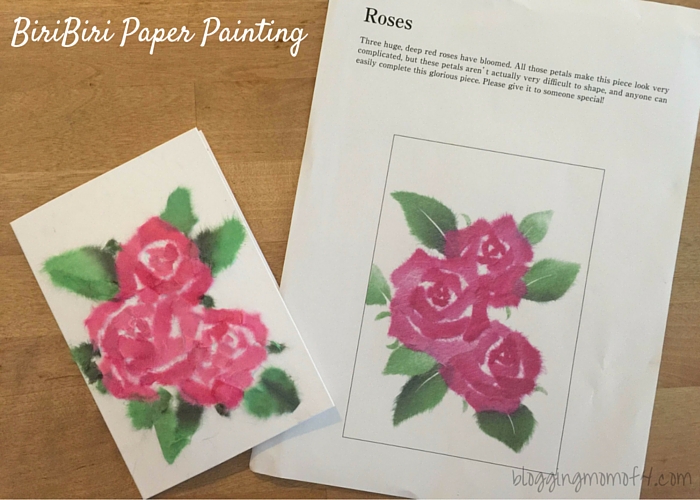
Have you ever heard of BiriBiri? It’s actually a beautiful new art style from Japan. It’s called paper painting. You use different colors of Japanese washi to create different pieces of art. When you are finished, your art looks like a beautiful painting.
Washi is available in a ton of different colors and soft textures. Using a combination will help you create amazing artwork. And this is something for all ages. With BiriBiri kit and starter tools, you have everything you need to get started.
BiriBiri Paper Painting
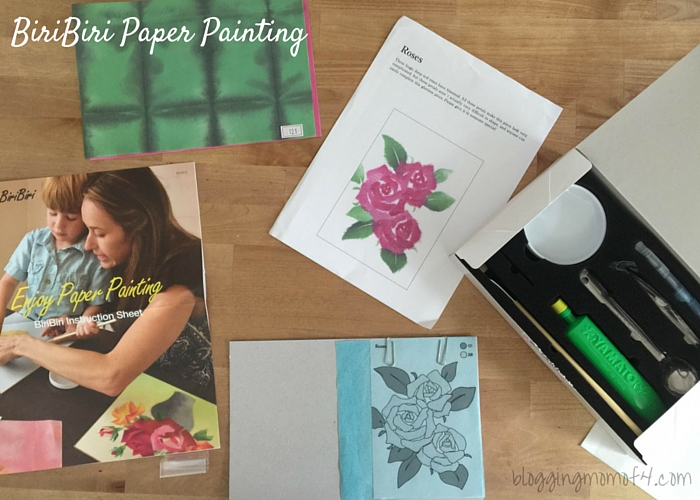
We were given the opportunity to try out our hand at BiriBiri paper painting. I’m not all that artistic but this is right in oldest daughter’s skill set. She loves drawing and painting so she was excited to give it a try. I was supposed to just be her cameraman but I got involved too. It sucked me in and I had a lot of fun.
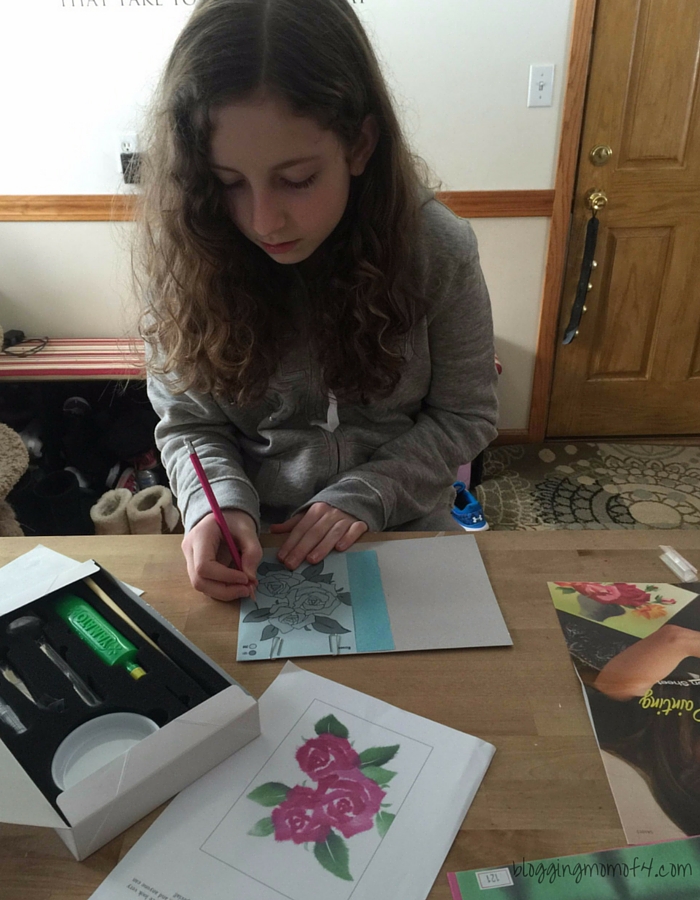
At first, I was a bit confused. If you are one that does not read instructions thoroughly, let me give you a tip… read the instructions first. It will make your BiriBiri go much smoother. We have several kits to try out and we thought we’d just get better as we went along. So far, I think the very first piece we did has been the best. 😉
My youngest daughter saw what we were doing and wanted to take a peek as well. She was the one that started reading the instructions and then pointed out what we were missing or doing wrong. So again, definitely read through instructions first.
Our first kit that we tried was the “Roses.” You are paper painting the roses right onto a greeting card.
First step is to copy the design on the art board. The art board, in this case, is the greeting card. You layer the pattern with the chalk paper onto the art board. Then trace over the pattern creating your design on the art board.
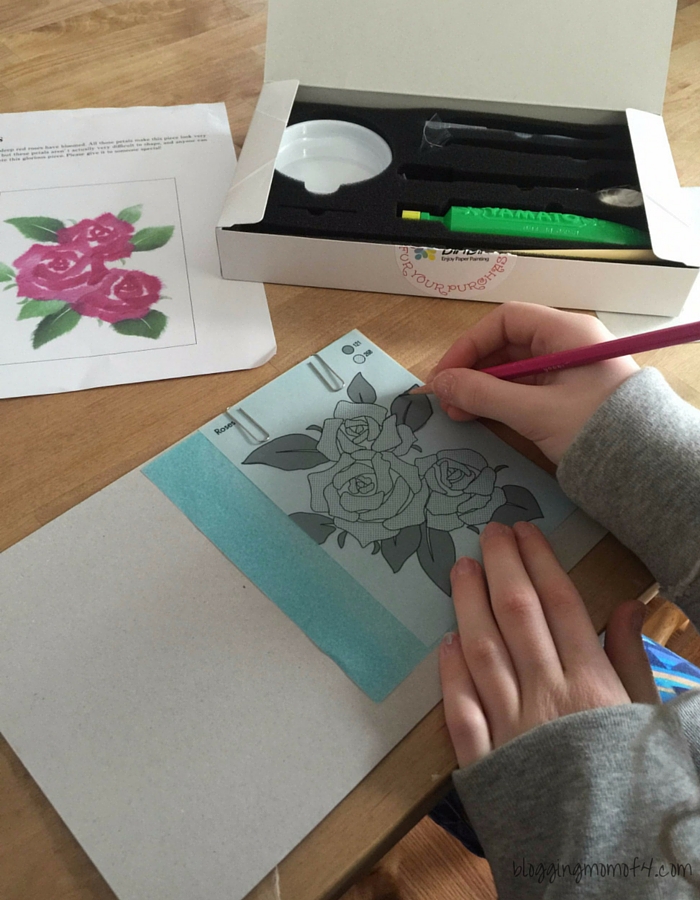
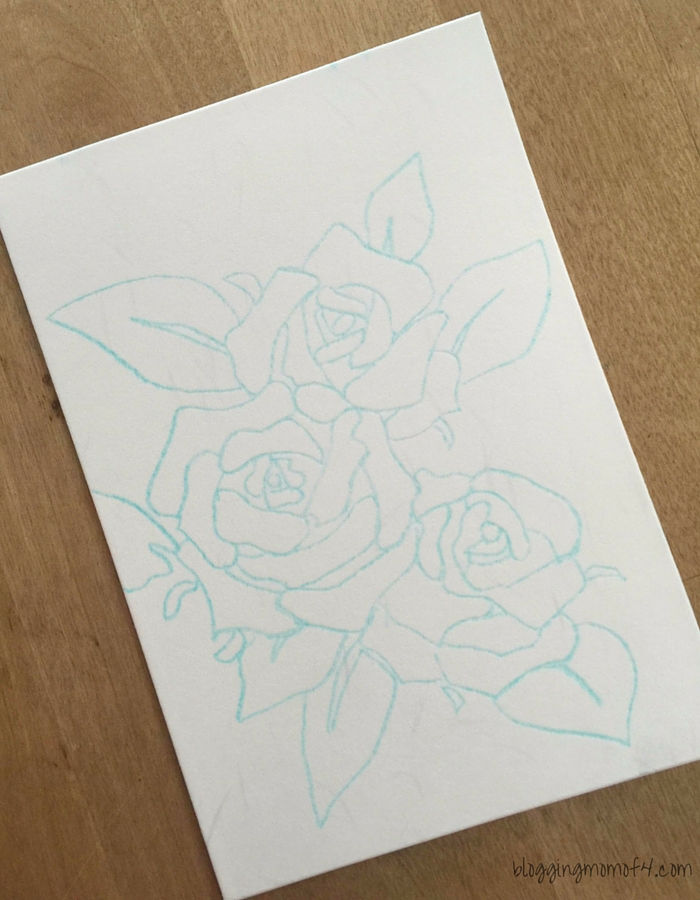
Next, you will choose the washi. Each pattern and washi are marked with numbers for easy matching. Some designs are more detailed than others and require layers. It’s best to do some planning of what goes where before you start. We also prepared our glue before starting any of the paper tearing.
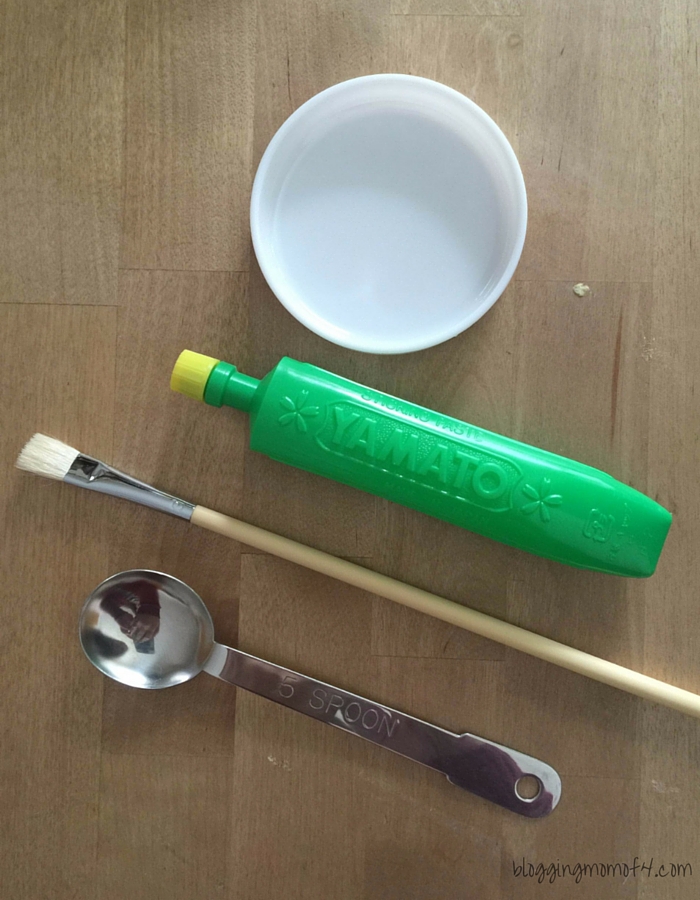
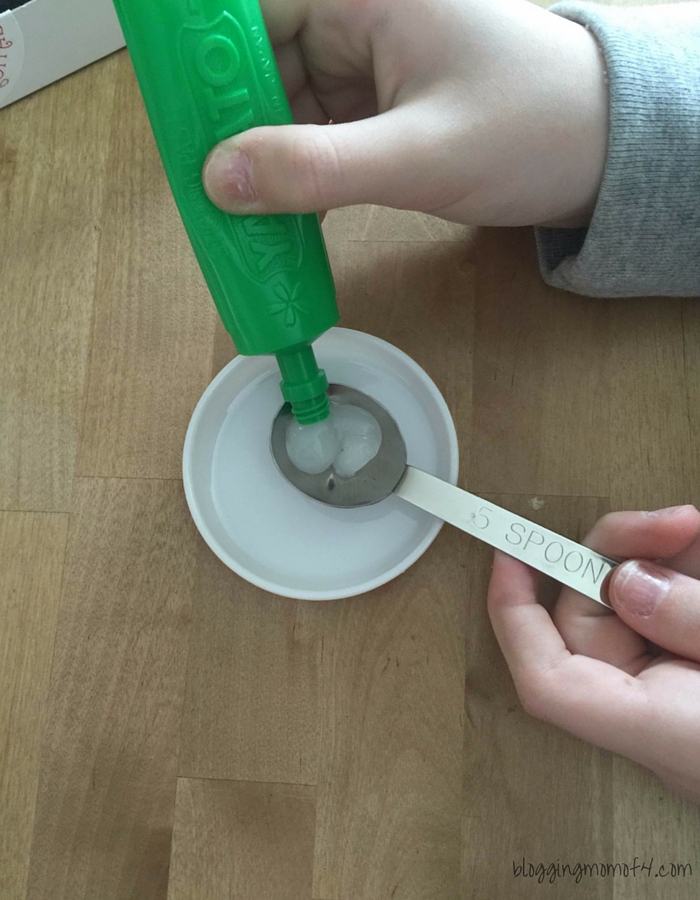
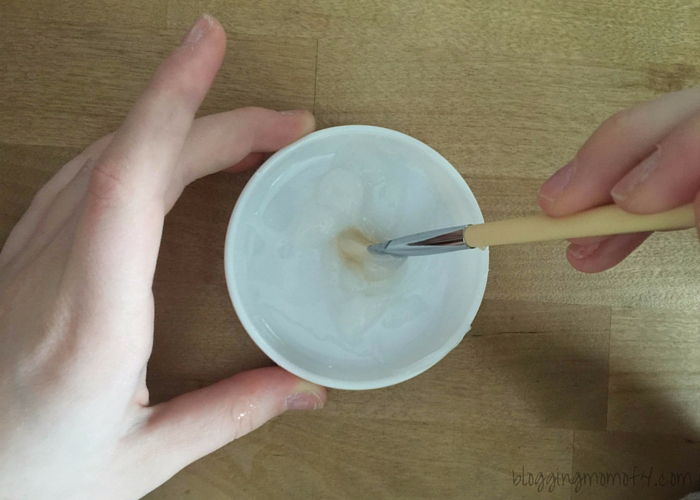
There are also great tips for preparing the washi for easy tearing and best ways to tear the washi. You can find it all right in the instructions.
Once you have your pieces, you apply the provided glue to the art board in one space at a time. Followed by placing the washi. Smooth piece gently outward with your fingertips and smooth out any wrinkles.
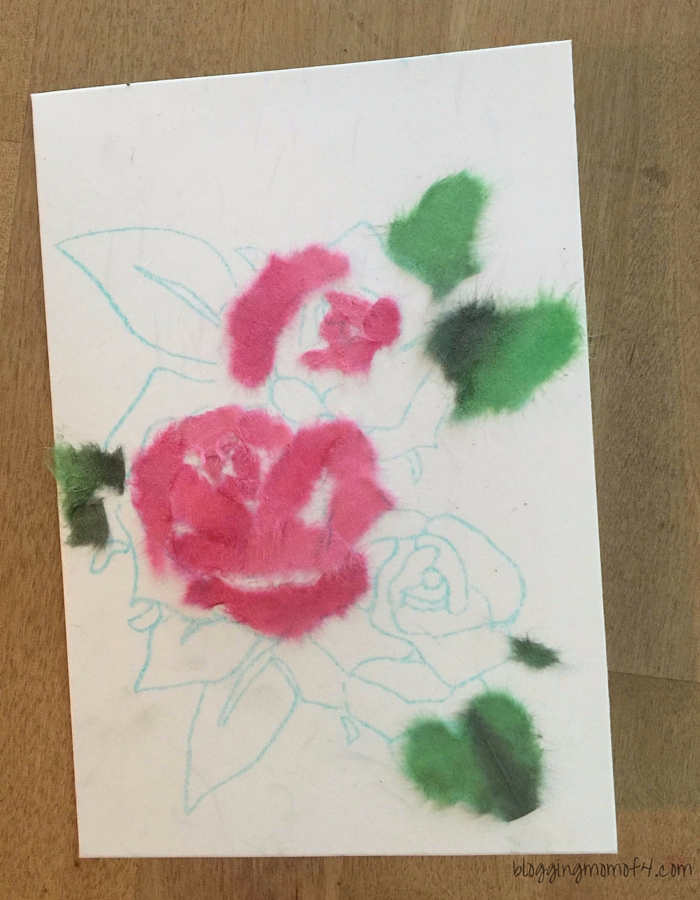
Continue process until all pieces are in place. Viola, you have a beautiful new piece of artwork or in this case a handmade greeting card.
Need more help? The U-CAN Learning Method provides crafters with access to video tutorials and solutions to common issues that can pop up while creating Biri Biri collages.
What do you think? How did we do?
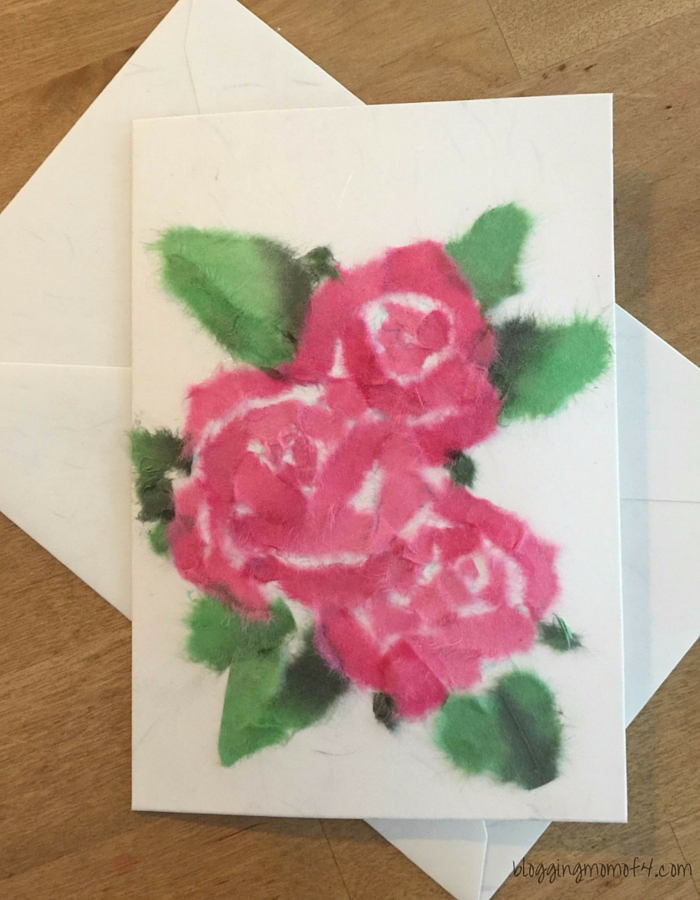
I’d love to see what others create! Follow this link, purchase a BiriBiri set and submit your collage on Youtube, Pinterest, Twitter or Facebook. Tag me when you post your creations !